Camping & Outdoor

Standup Paddleboard Conversion
I got a standup paddle board last year for our camping trips last summer.

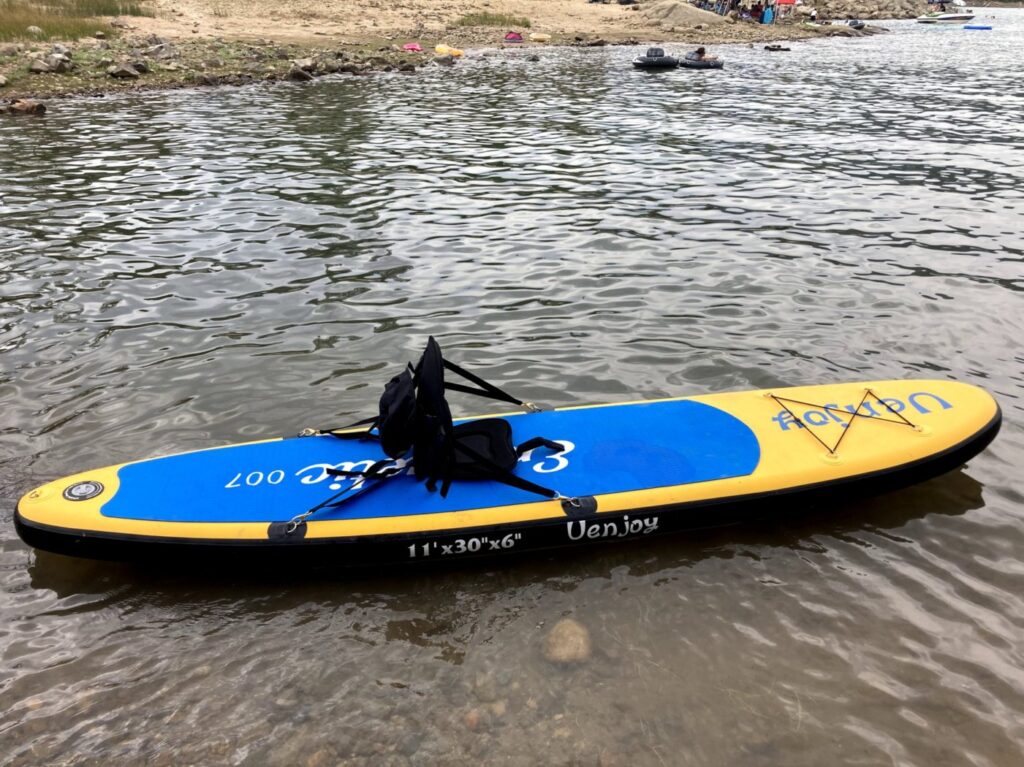
This year, I wanted to add a seat to the paddleboard so i have more leverage to pull an inner tube. My paddle board doesn’t have d-rings to support the kayak seat so i would have to install the d-rings.

Materials

- HH-66 vinyl cement glue
- rubbing alcohol to clean the surface
- painters tape to hold down the d-rings while setting
- gloves to protect hands from the vinyl cement
- green permanent marker (i shouldn’t have used a permanent marker)
- roller tool or a spoon to push out the air bubbles
- 4x D Ring for SUP
- kayak seat
- kayak paddle
Installation
- Pump up the paddle board
- Lay out the d-rings and seat. The seat should be placed near the center. I didn’t want the straps to be flapping around so i spaced out the d-rings far enough and then drew an outline for the location of the d-rings.

- Cut the d-rings to fit the space that you have on your SUP

- Before applying the cement, clean off the area where you outlined on the SUP as well as the d-ring. Use rubbing alcohol because that is what i read to do. But not sure of the advantage over plain water.
- Apply the HH-66 vinyl cement on the entire surface. Then wait a few minutes until it gets taky. Apply another layer, wait another minute. Apply a third layer. Do this for both the paddleboard and the d-ring.


- Press the d-ring onto the board and use a roller tool or a spoon to get out the air bubbles and make it as flat as possible.

- Use painters tape to hold it down the d-ring and wait 24 hours

- After 24 hours, take off the painters tape and test install the kayak seat
Testing

The seat is comfortable and stable. I used it for about 2 hours pulling my son and the dog in the inner tube while my wife sat in the area behind the seat. The seat support felt solid. And I was able to power us around the lake.

The SUP paddle only has the paddle on one side so you will need to upgrade to a kayak paddle that you can use on both sides.
papamo
0