PV System: 4. Structural
Getting Panels to the Roof
The solar panels are 7 feet tall. It would require four people; two at the bottom lifting up the panel and two on the roof to receive the panel. Because of the COVID lockdown I couldn’t have anyone over to help lift the panels to the roof. So I decided to build a solar panel ladder hoist using a sliding lift mounted on a ladder and pulled by an electric hoist.
Materials Needed:
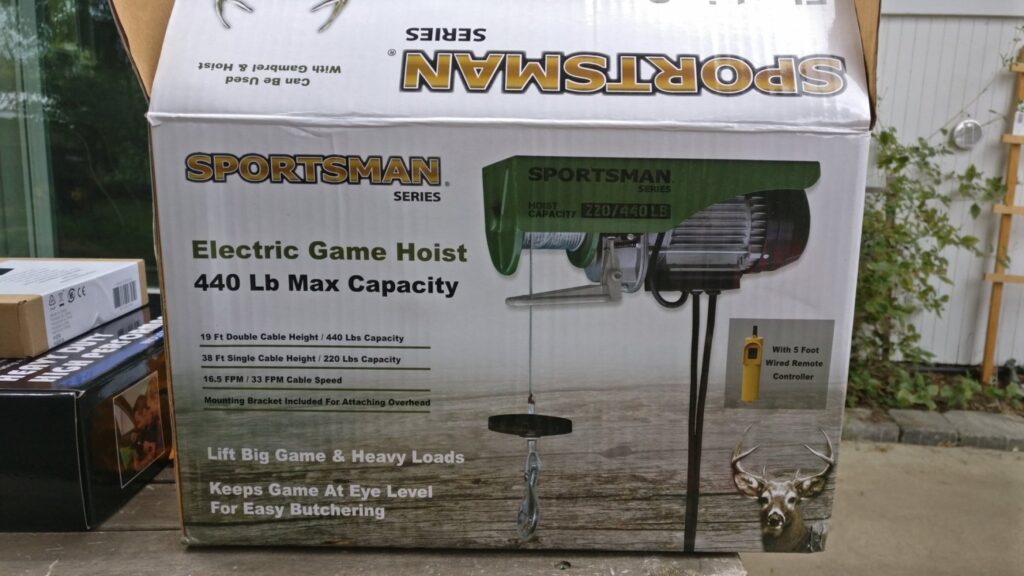
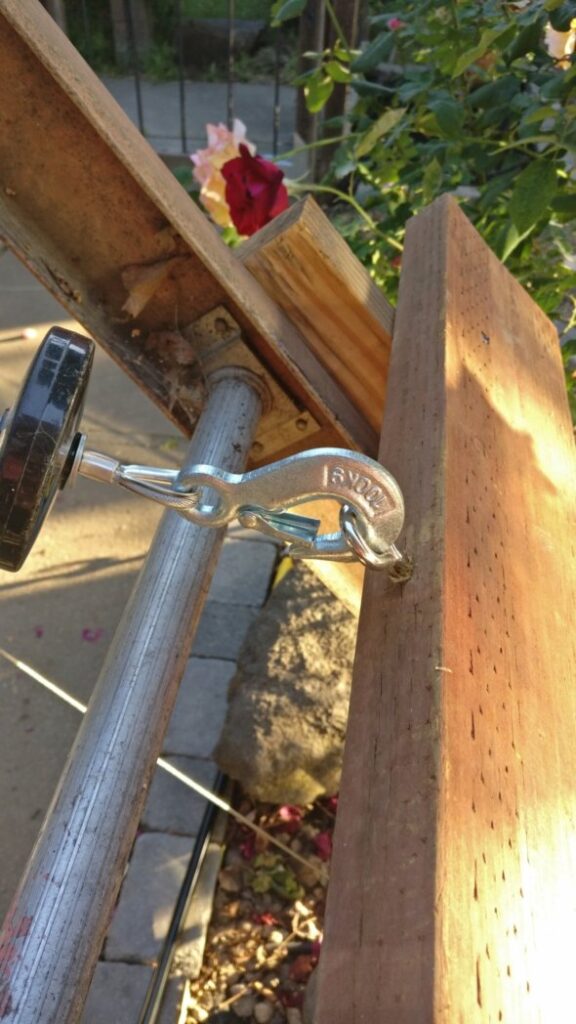
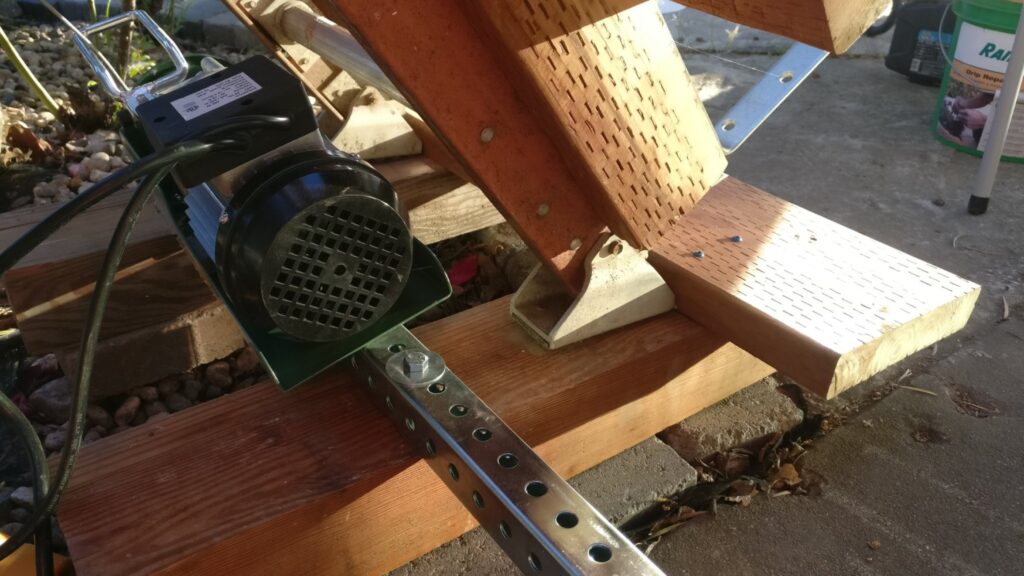
The hoist connects to the eye hook.
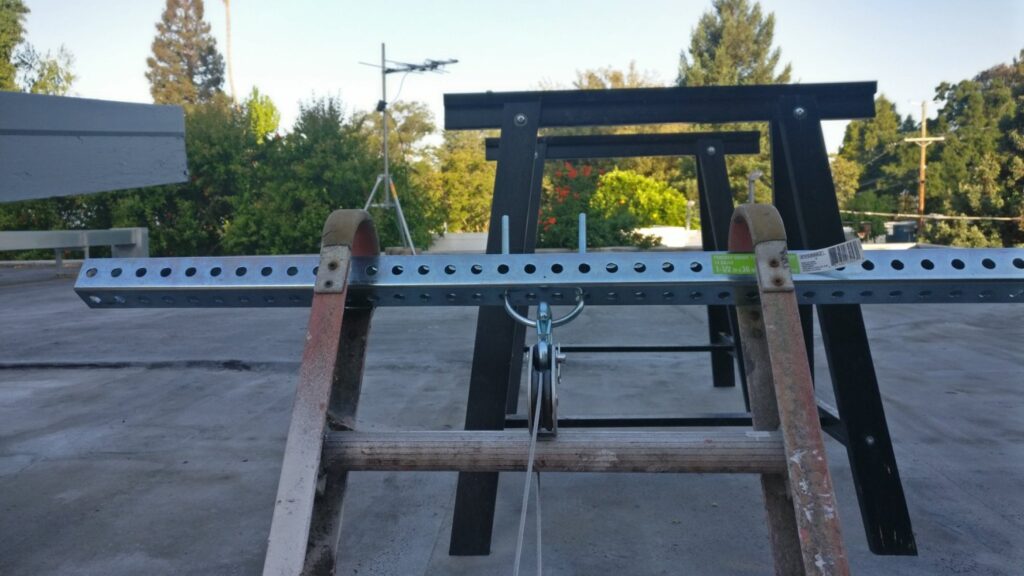
The cable is looped through a pulley to keep the pulling action smooth. Otherwise the cable is just resting on the ladder rung and the weight of the panel creates too much friction.
The hoist is at the bottom of the ladder and bolted onto 4×6 wood. I had to put some cement blocks on those 4×6 for extra weight so that the hoist doesn’t get pulled up.
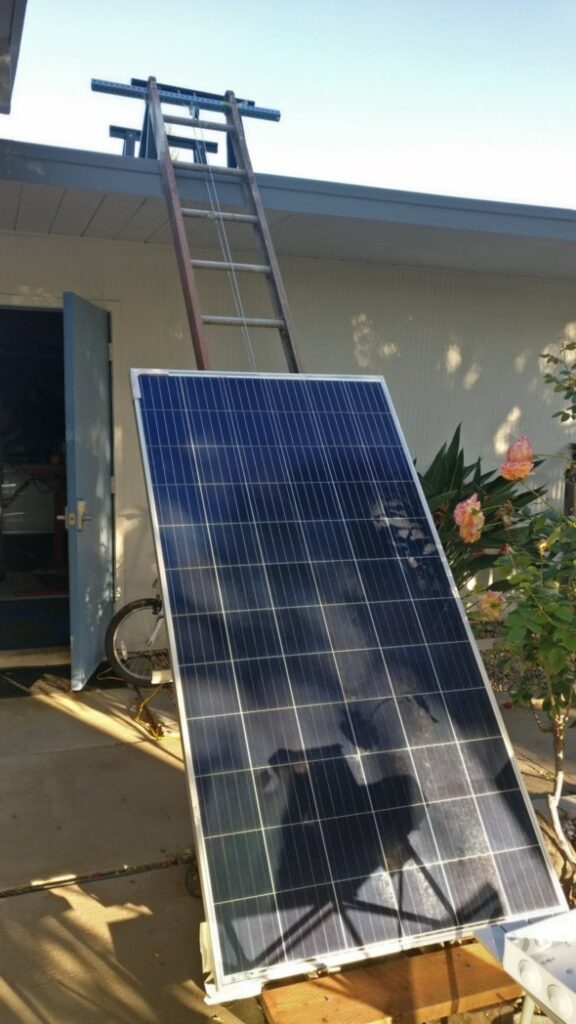
The entire setup with the panel ready to be lifted. I would run the hoist until the top half of the panel extended above the roof.
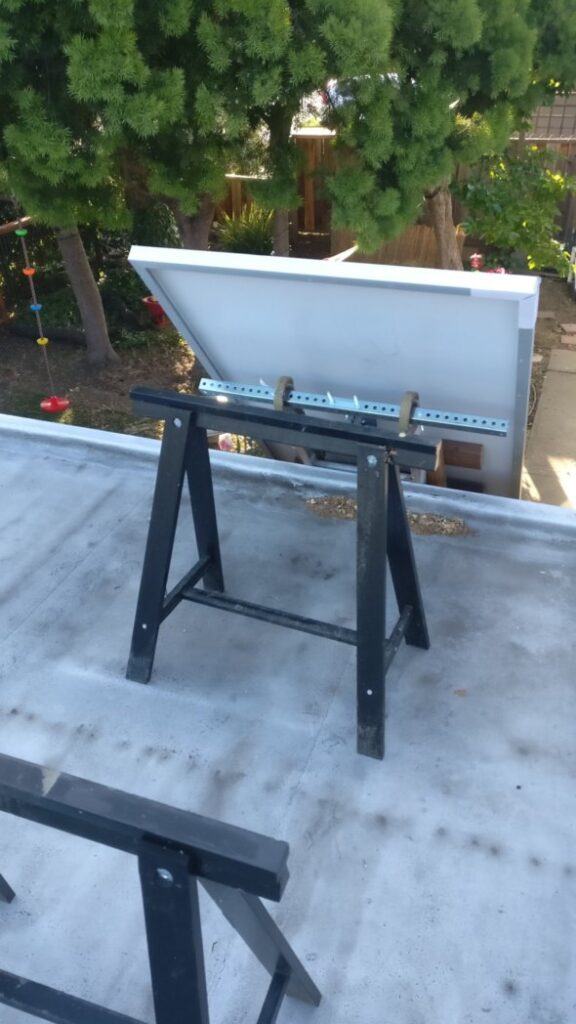
Then I attach suction cups to the back of the panel and lift it up and rest it on the sawhorse. Unless you like the surge of adrenaline of floating a $250 panel in mid air with a suction cup, then I recommend to have people come over and help. If I could do it over again I would also get smaller panels.
Attaching the panels to the roof
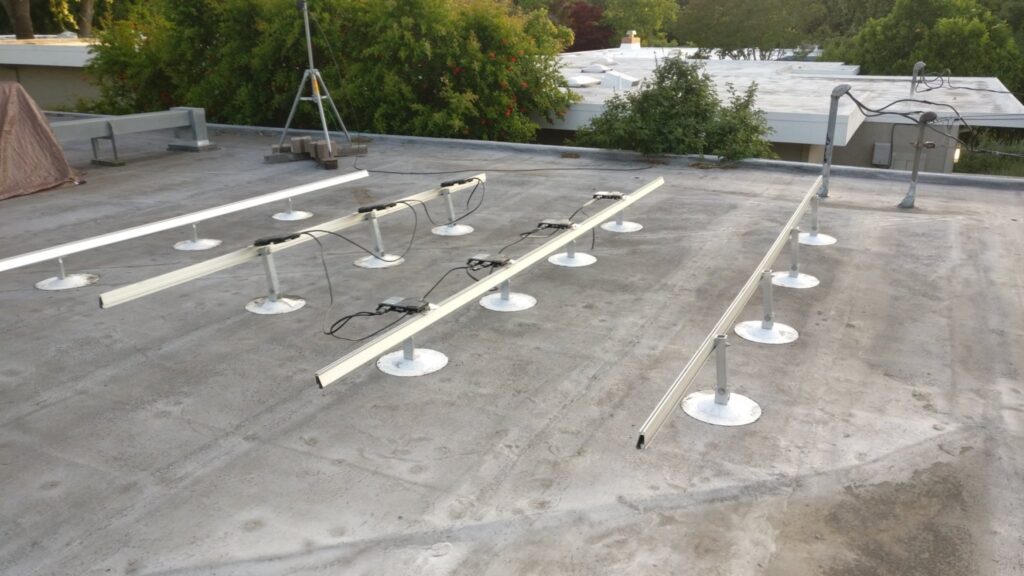
First step is to layout the rails and cables to make sure the wiring can reach all the panels. The length of the cables for each microinverters is 3ft. It would be a lot of extra work to have all your panels fixed to the roof and realize you need to extend the cables.
Materials Needed:
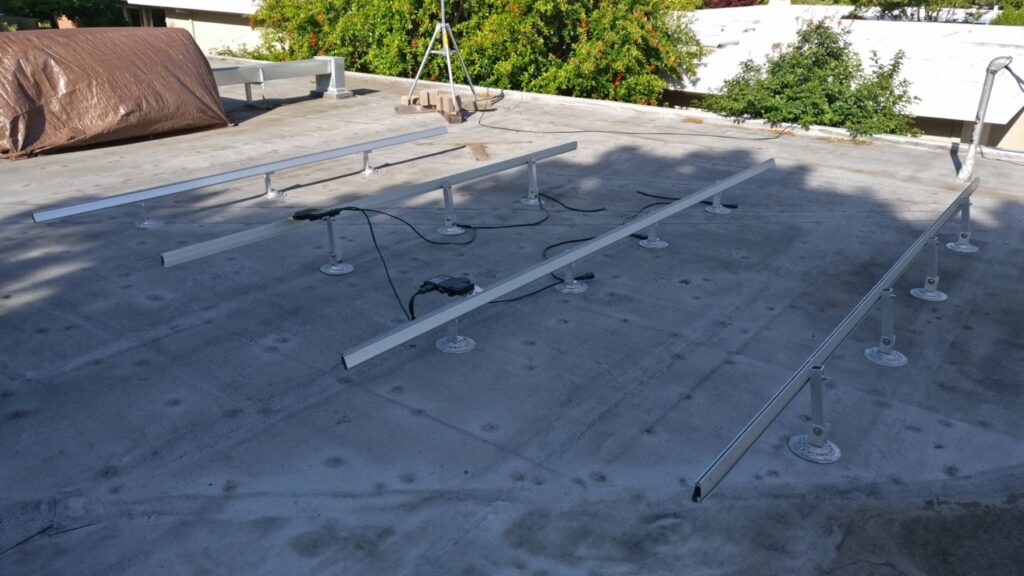
Next we use black spray paint to mark where all the flat roof attachments (FRA) should go.
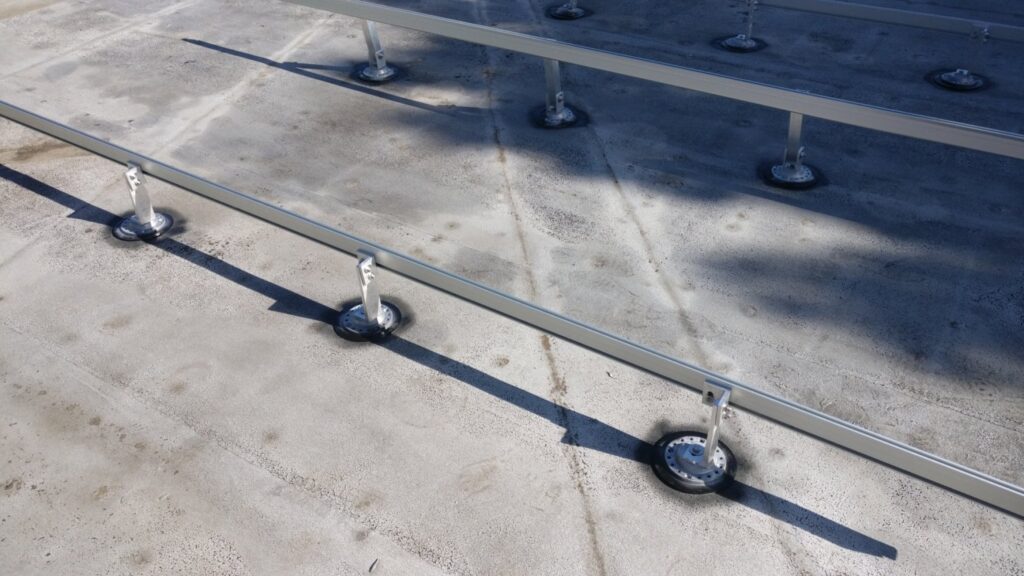
Then we remove the rails and screw the FRAs into the roof.
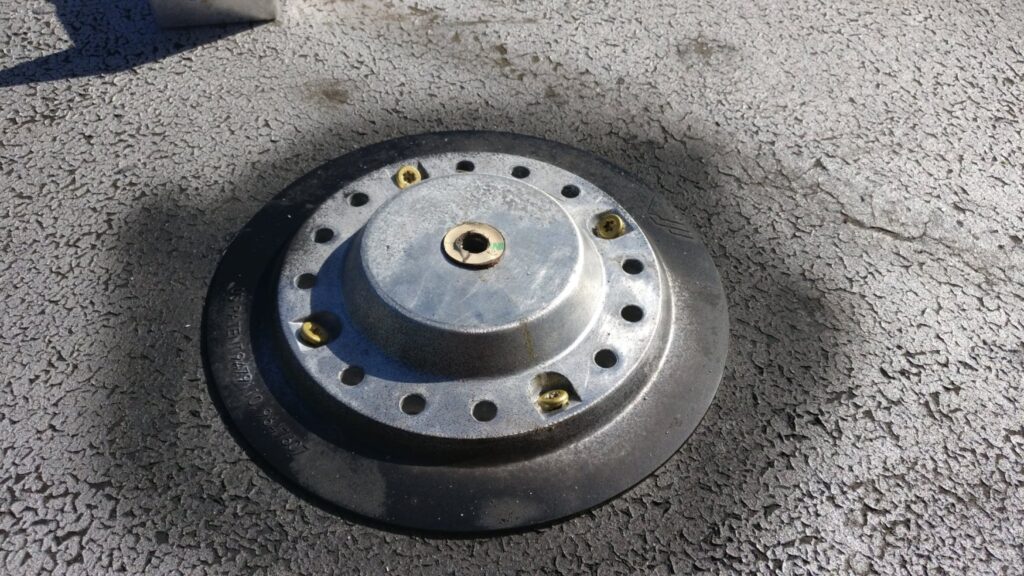
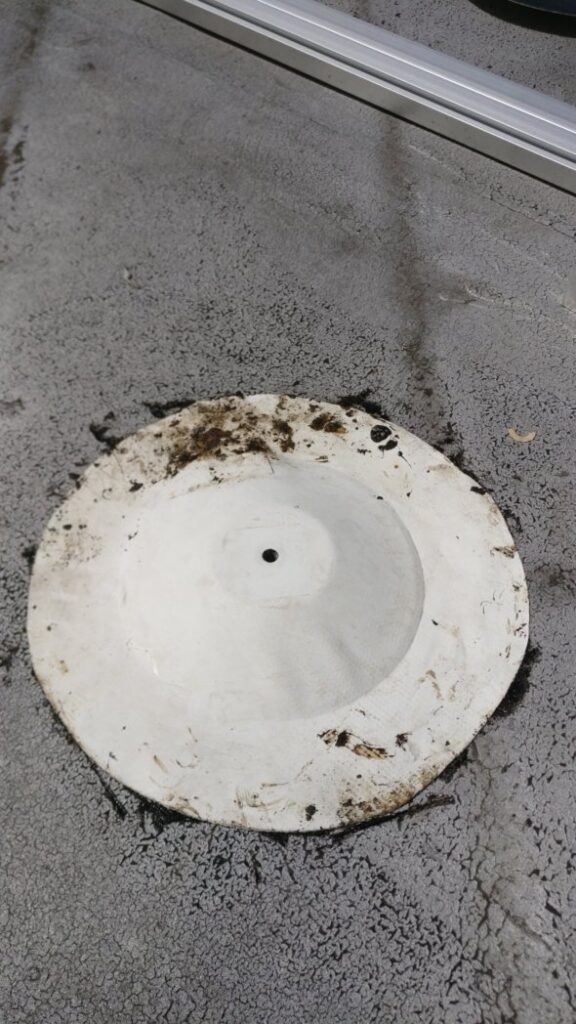
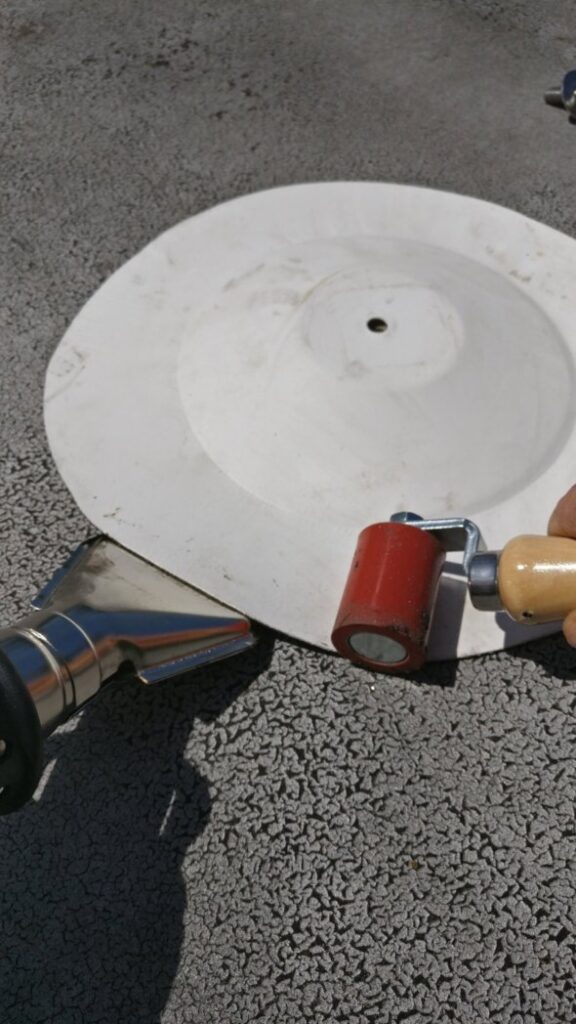
Then the hard part of flashing the FRAs to protect them from the rain. I used a heat gun to heat up the tar like silicon material on the bottom of the flashing. The heat gun also heats up the TPO membrane which makes up the roof. The black melty goo then cools and bonds together.
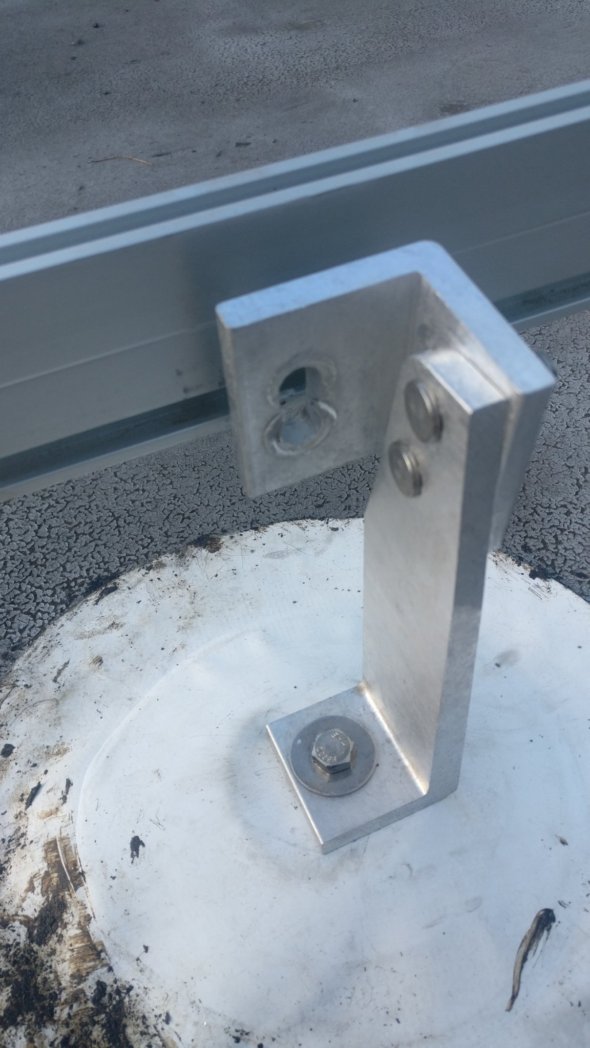
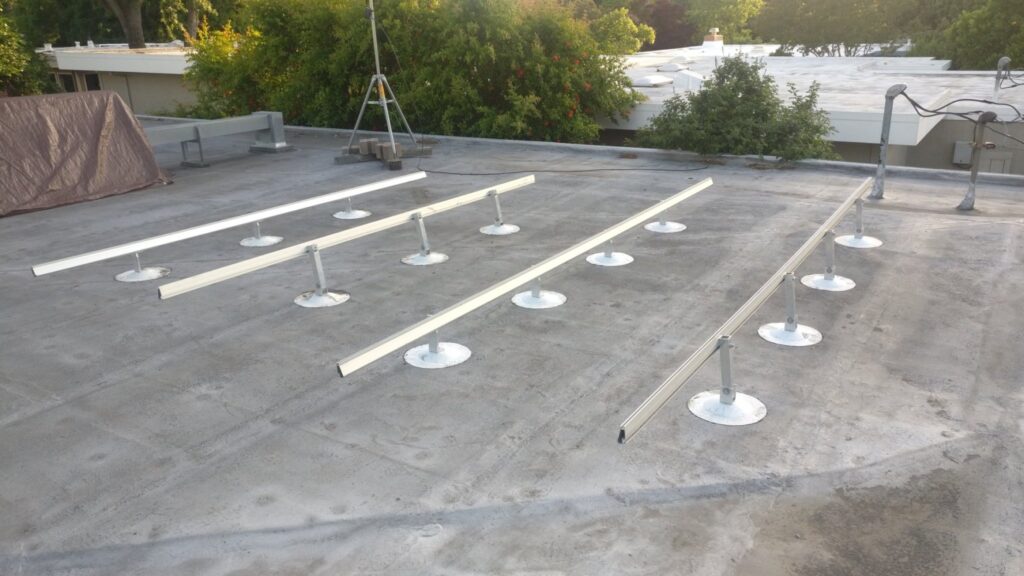
Then finally I screw the legs onto the attachments and then screw the rails onto the legs. Make sure that you have the long and short legs in the right position to angle the panels in the proper direction.
Three areas I f*ed up on:
- F-up #1 The fasteners were too long by about 1.5 inches. I should have tested one and then looked at the roof from below. Lucky it is only the garage and my wife has not noticed. A dremel makes short work of those.
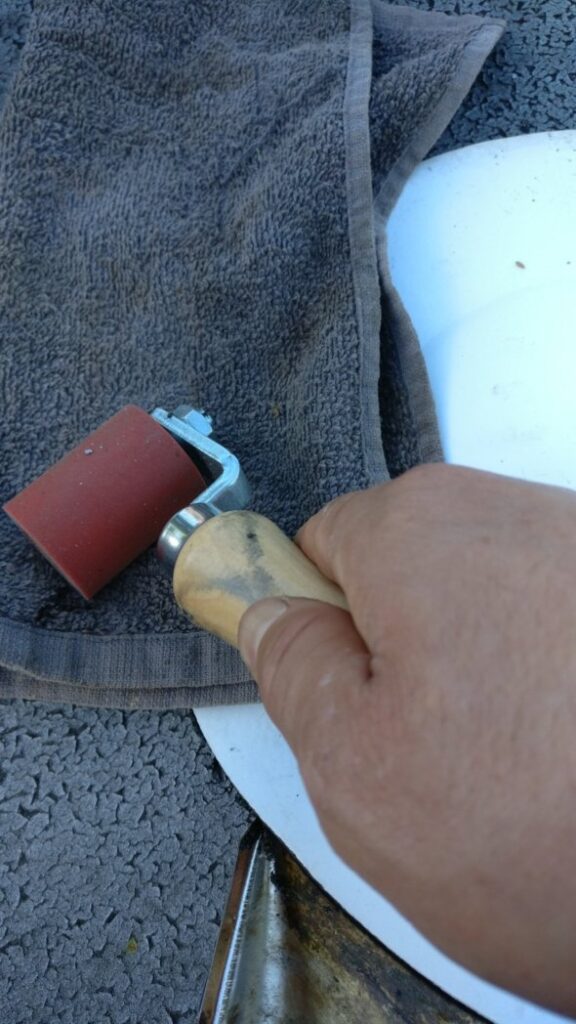
- F-up #2 The heat gun was fun to use. Took a lot of trial and error. The first few flashings were a hot black mess of tar. Towards the end it got better. The tips are: have a towel next to you to wipe off any tar that gets on the heat gun so it doesn’t get everywhere. Have a second towel that you use between the roller and the flashing so the roller doesn’t get tar on it when you get to the edges. Don’t change the shape of the flashing by pressing the middle part down. Just work the edges.
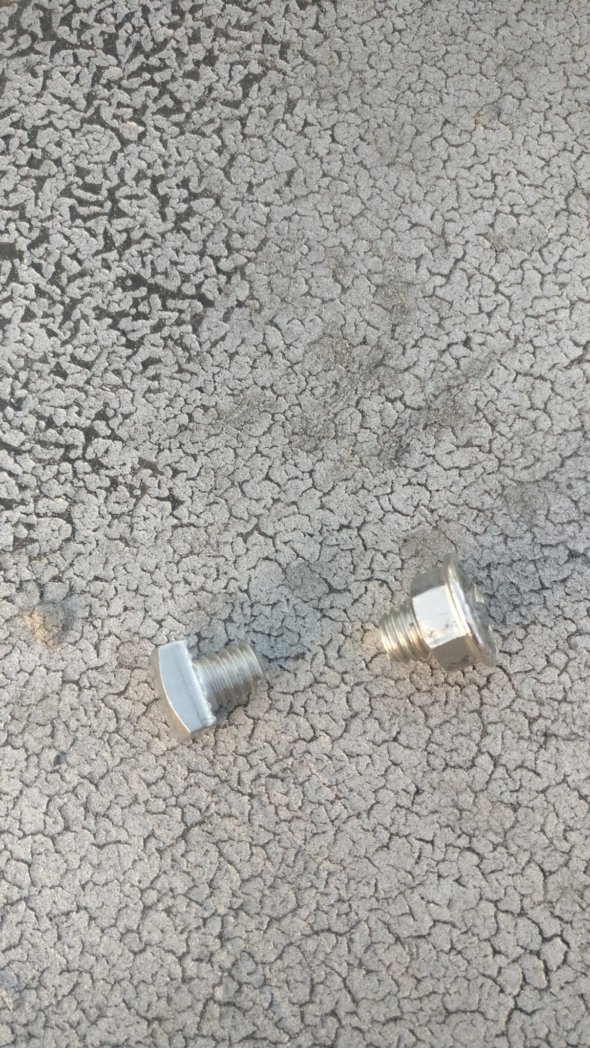
- F-up #3 I over-tightened one of the screws because i was using the torque wrench incorrectly. Snapped the bolt in half. Had to go find a replacement on ebay.
