Minisplit: 3 Connection
Lineset hook up
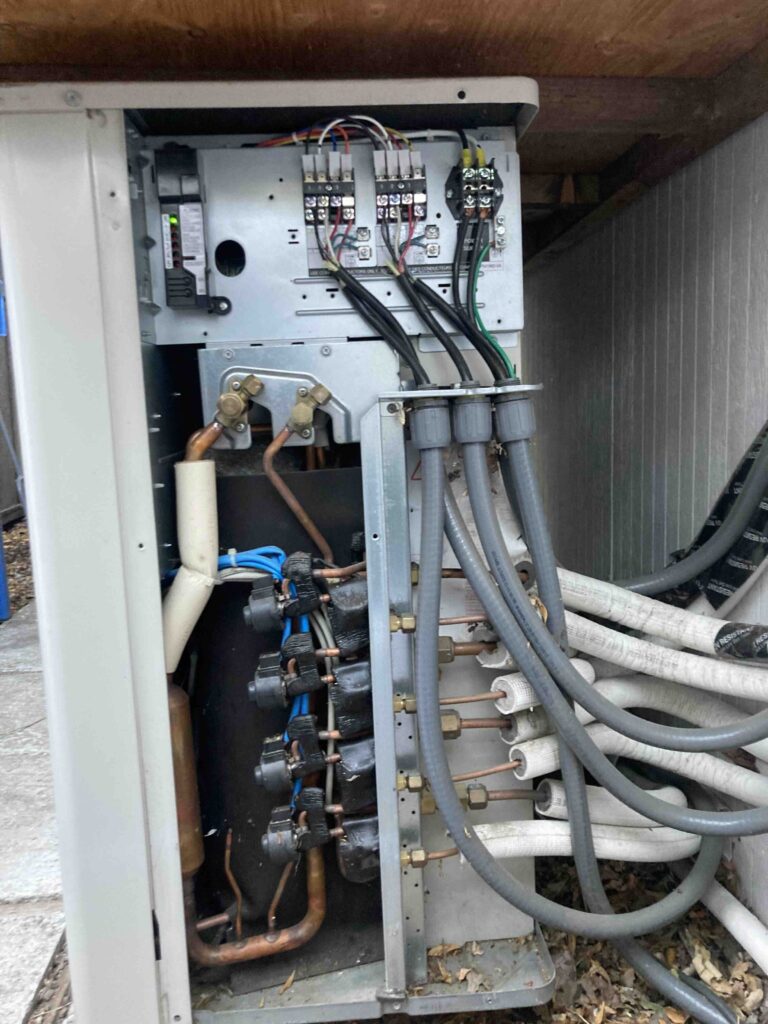
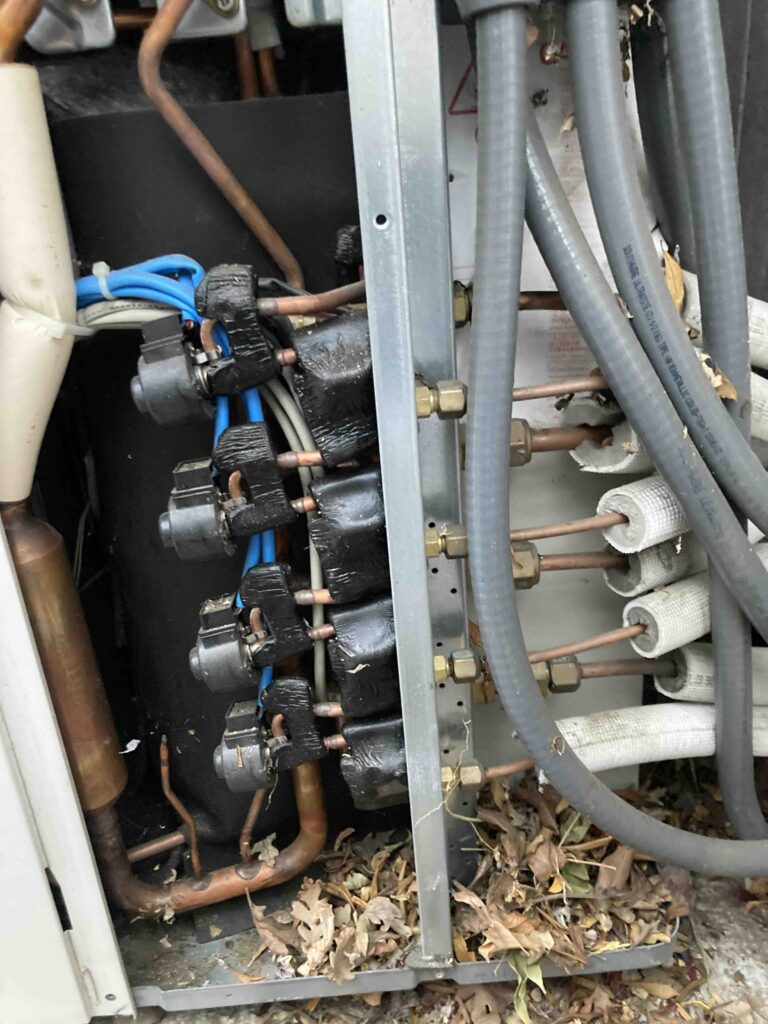
The lineset (copper pipes) need to be connected to the wall unit and to the condensor. Each side has two pipes, one for the liquid and one for the suction. A total of 16 connections because I am installing 4 wall units. Each connection needs to be vacuum tight so no gas or liquid leaks out. This requires the ends to be flared and reamed smooth with no imperfections.
Use a reamer tool to get rid of any leftoever burs from the pipe cutting

https://amzn.to/2JrYa5K Flaring Tool (below) is used to create a flared end that will seal tightly against the joint.

Put the pipe into the clamp and leave a few millimeters sticking out the top.

Then insert the clamp into the vise. Twist the handle so that the cone will rotate and create a flared tip. Apply mineral oil on the cone for even smoother results.

Should be as smooth and clean as possible

Apply nylog blue ($10) to the ends, being careful not to over-apply

The flared tip will sit on the joint.

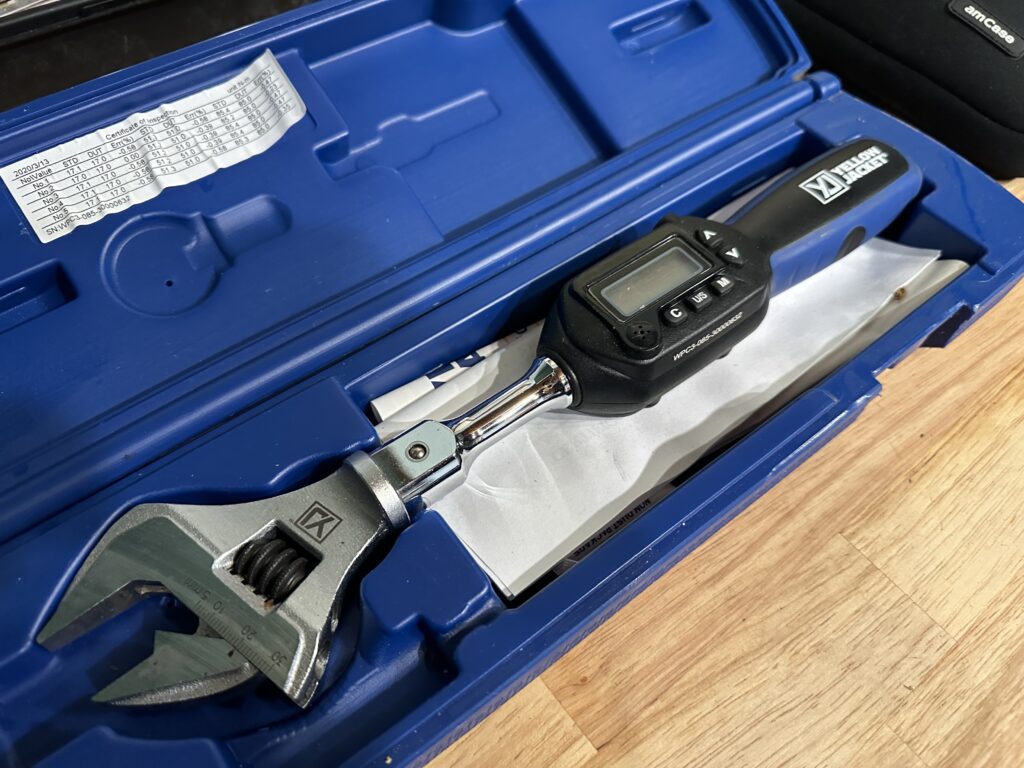
Then use a digital torque wrench ($150) to torque the bolt to the precise torque documented in the installation manual.
Repeat for the gas line. Then repeat two more times for connecting to the condensor. Then repeat 3 more times for the other wall units. Total of 16 connections to flare and seal tightly. We will test for leaks in upcoming step.
Drainage
The cooling function of the wall units will collect water that needs to be drained outside of the house. Initially I wanted the drain to run with the lineset and control line up to the roof and drain onto the roof. Since the water has to go up (from gravity) it required a pump.
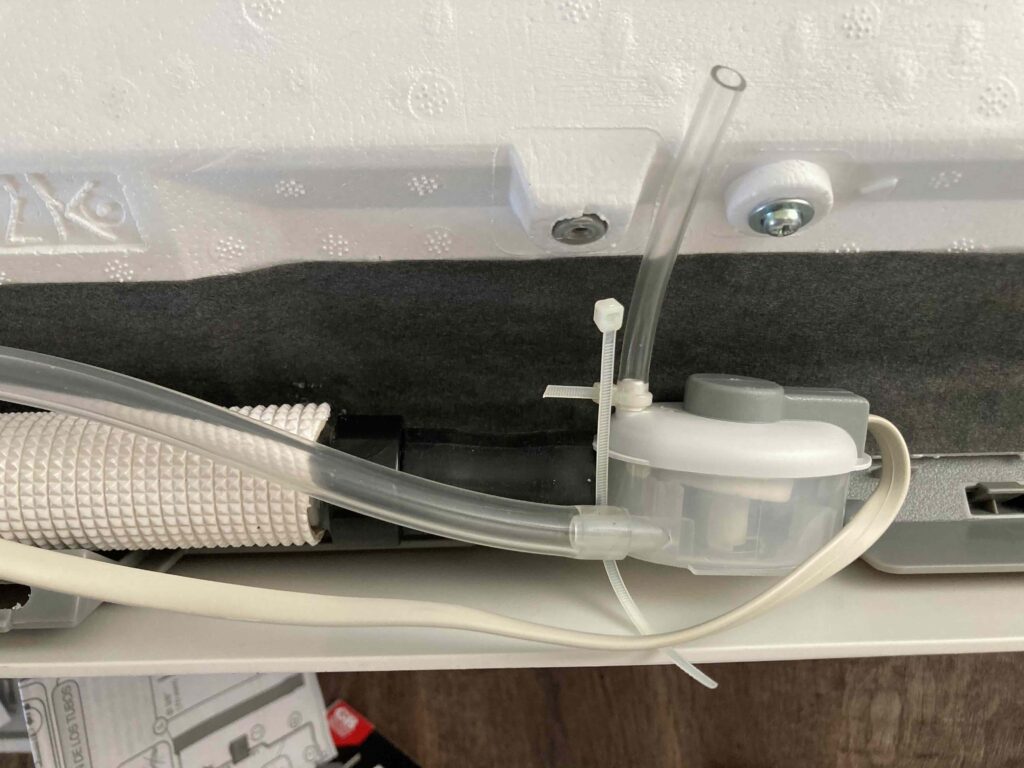
If you need one I recommend the Daikin DACA CP3, you can find them on ebay for $50. It is small enough to go inside the wall unit.

I bought the Daikin condensate pump and installed it into one of the wall units before realizing this system is fragile and adds more complexity to the system, which means another potential point of failure. Also it adds noise, which I don’t want in the bedrooms. To simplify I just decided to drain out the side of the wall. No pump needed.

[Post install update: There isn’t much water draining out because the summers are dry in California. After running the cooling for several hours there was a small wet spot.]
[Post install update: The tubing got plugged up and water was building up and started leaking inside. Make sure the drainage doesn’t have kinks and is free flowing.]
Electrical
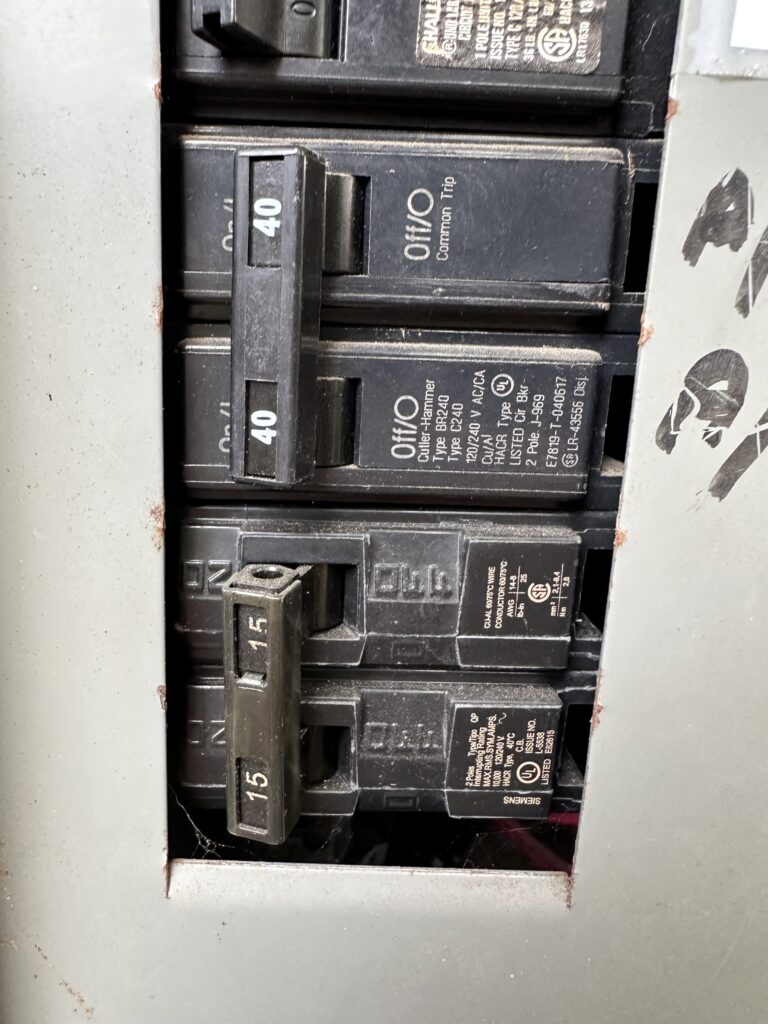
There are two lines from the 40 amp circuit breakers from the main panel to the disconnect switch then to the condensor.
A pull out disconnect switch

The power lines from the disconnect switch to the condensor (two thick black wires on the right). Always use the correct size gauge wire for electrical lines. Always make sure the power is disconnected at the disconnect switch when doing any electrical work.
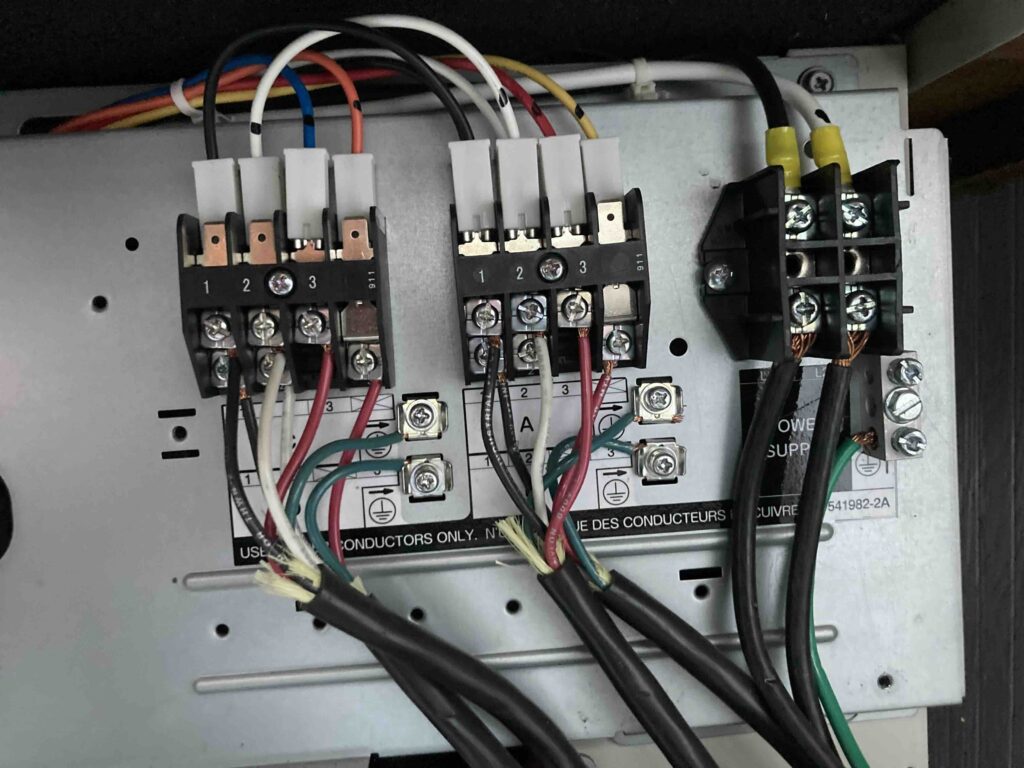
Above: The condensor connections from the wall unit are to the left of the power supply.
Below: The wall unit electrical connections. Follow the color code.
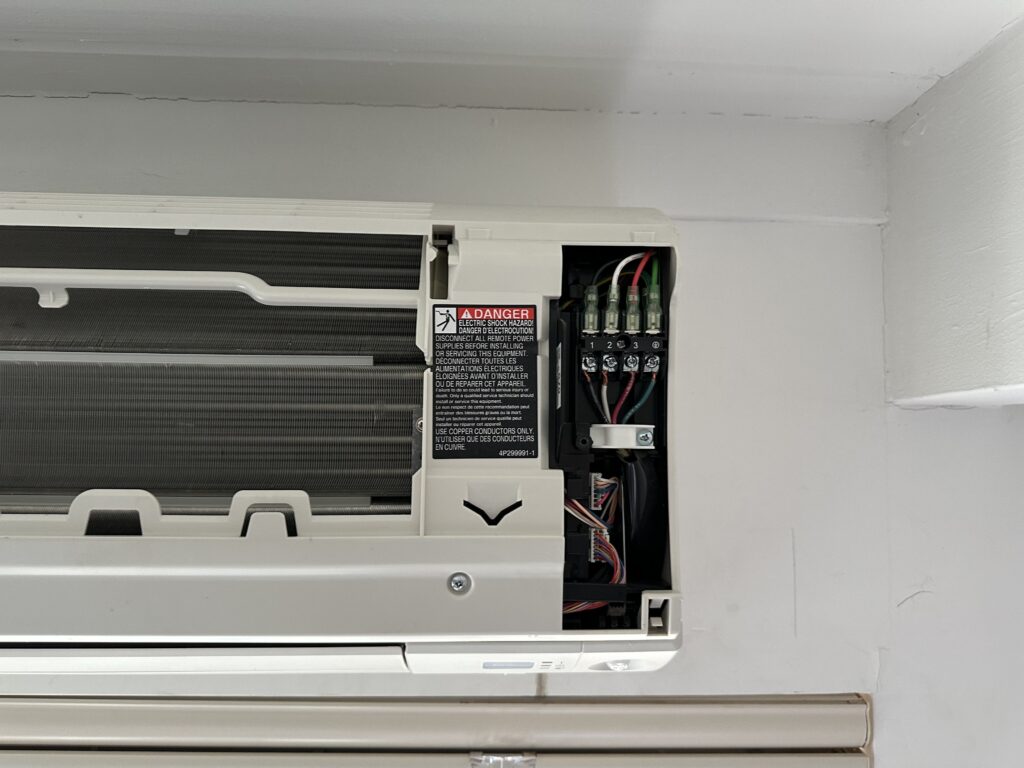
The refrigerant lines are connected at the bottom. The power and control lines are connected at the top. We are now ready for the leak test.
