Minisplit: 2. Construction
Condensor Placement
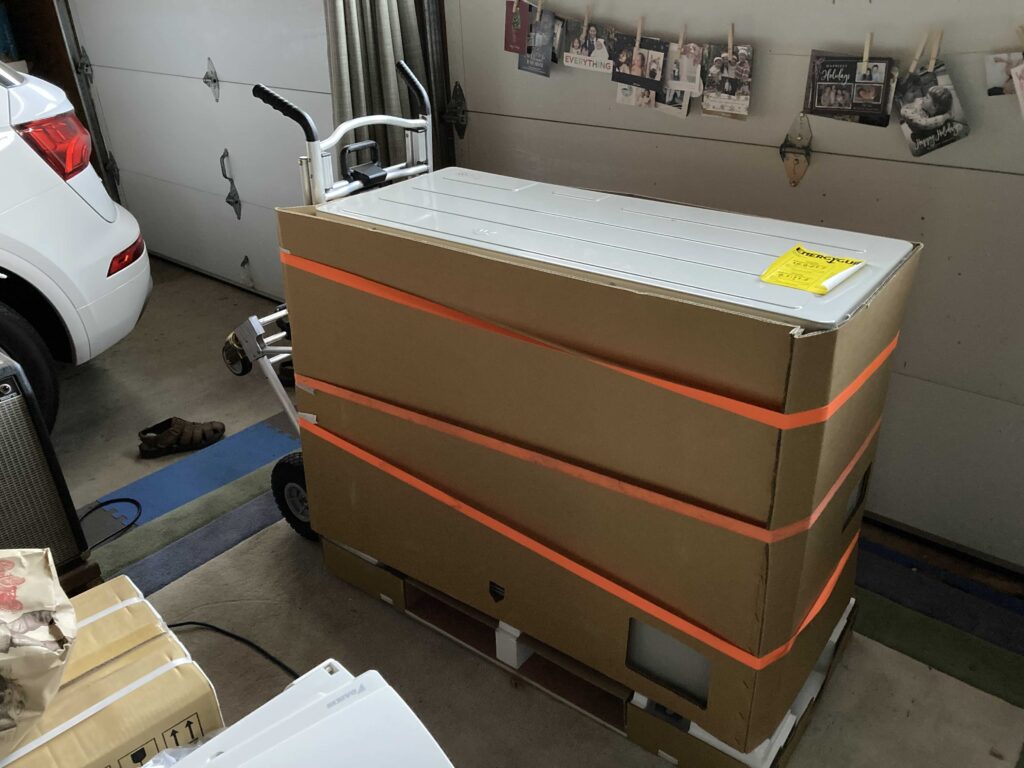
The 4-zone condensor is 220 lbs and 2 feet by four feet. I considered placing the condenser on the roof. Advantage of roof placement is that you don’t have to use valuable space around the house and the lineset distance is shorter since the condesnor is in a central location to all the wall units. The drawbacks are more vibration noise, servicing requires going onto roof, earthquake proofing and wind proofing.
Installing on roof would require some sort of equipment padding ($100). I already had a concrete base on the side of the house to place the condensor. To reduce the noise and vibration I could install spring isolators . I decided on side of the house placement to simplify the install and because i didn’t have an easy way to get a bulky 220 lbs machine on to the roof.
Took 3 people to move it to the side of the house with a 1000 lbs dolly ($160)

Installing the wall units
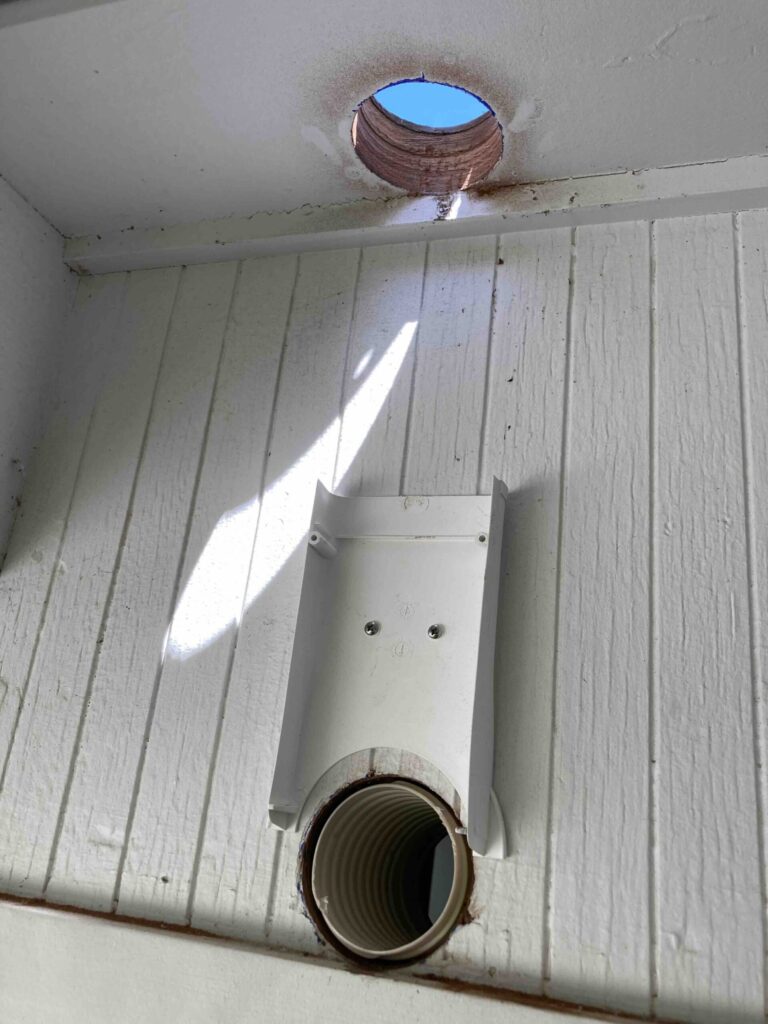
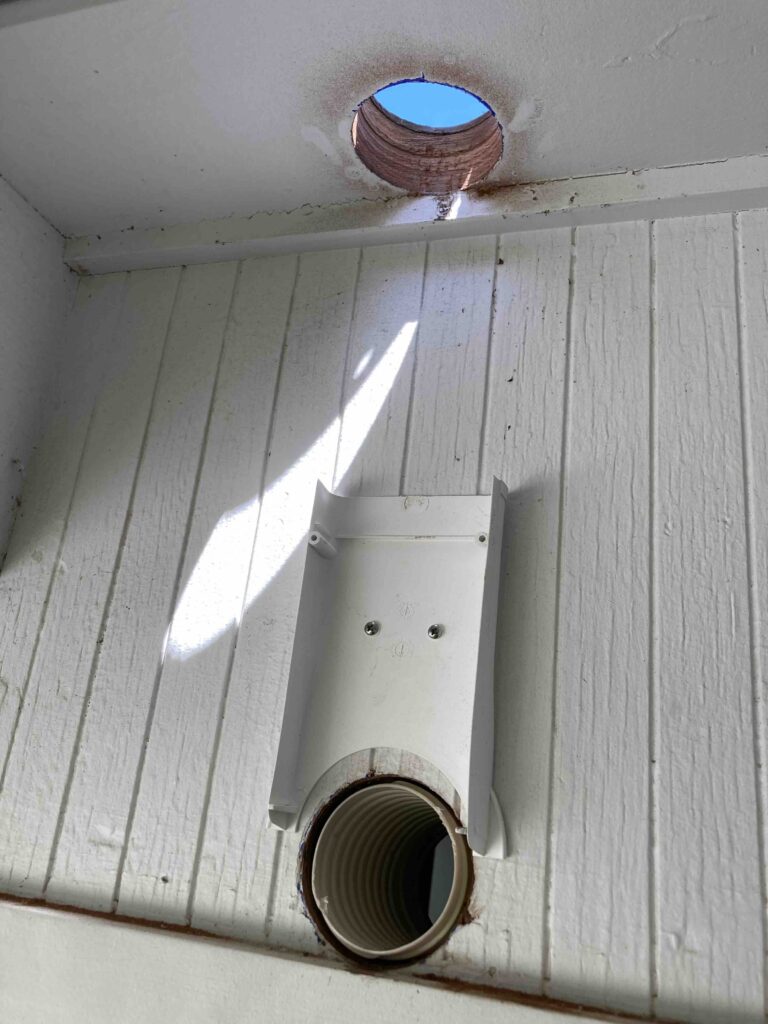
To install the wall units, first attach the back plate to the wall, then the wall unit hangs on the plate. I planned to run the lineset out the bottom right corner to the exterior. After the back plate is securely attached to the studs, or using drywall anchors, I used a hole saw to cut a 3″ inch through the wall to the exterior.
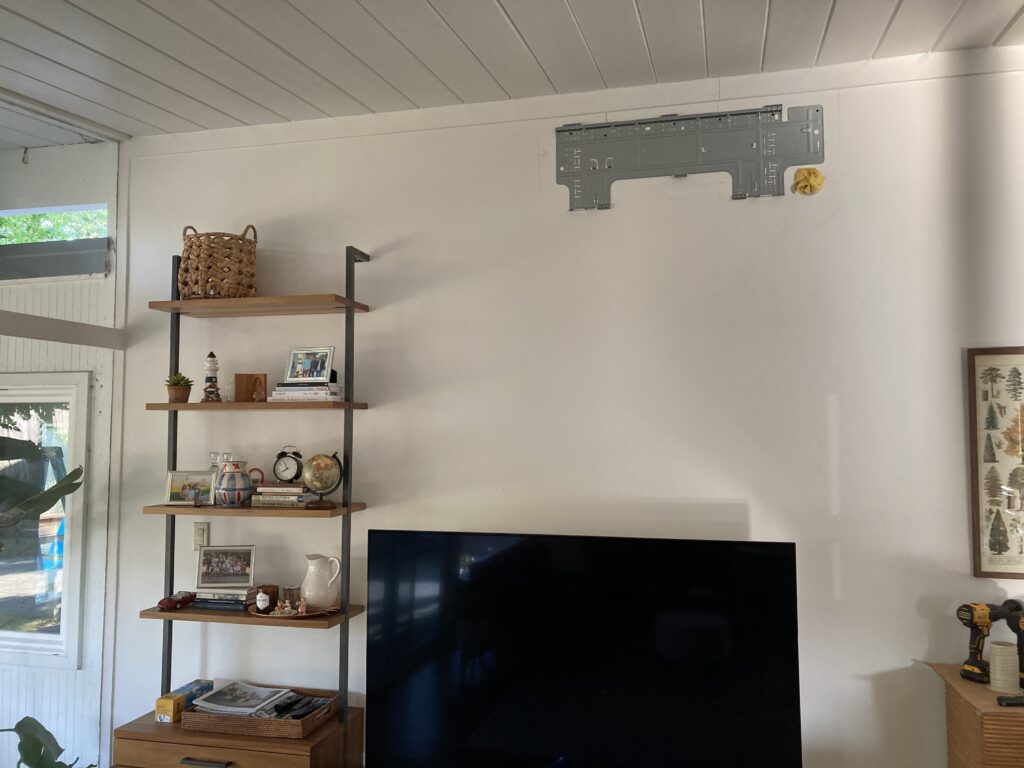
The wall plate is hanging up high because that is there is just that little bit of exterior wall at the top. The line running out of the wall in the picture below is the hole from the picture above.
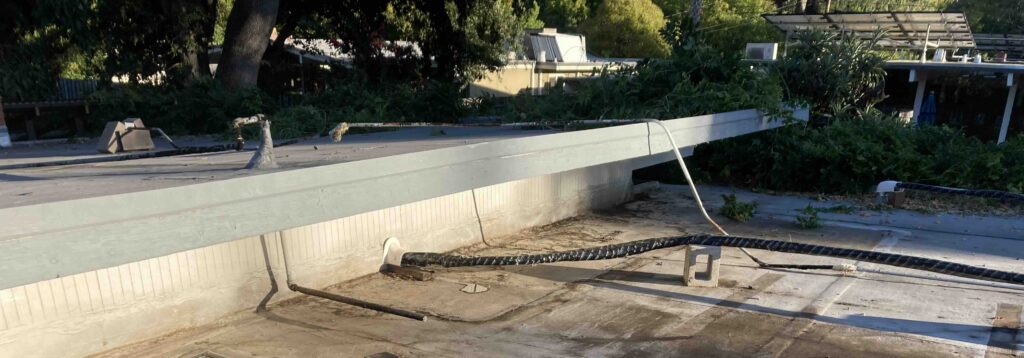
The two bedrooms are on the other side of the house from the condensor. I planned to route the lines across the roof, so I had to cut additional holes in the awning.
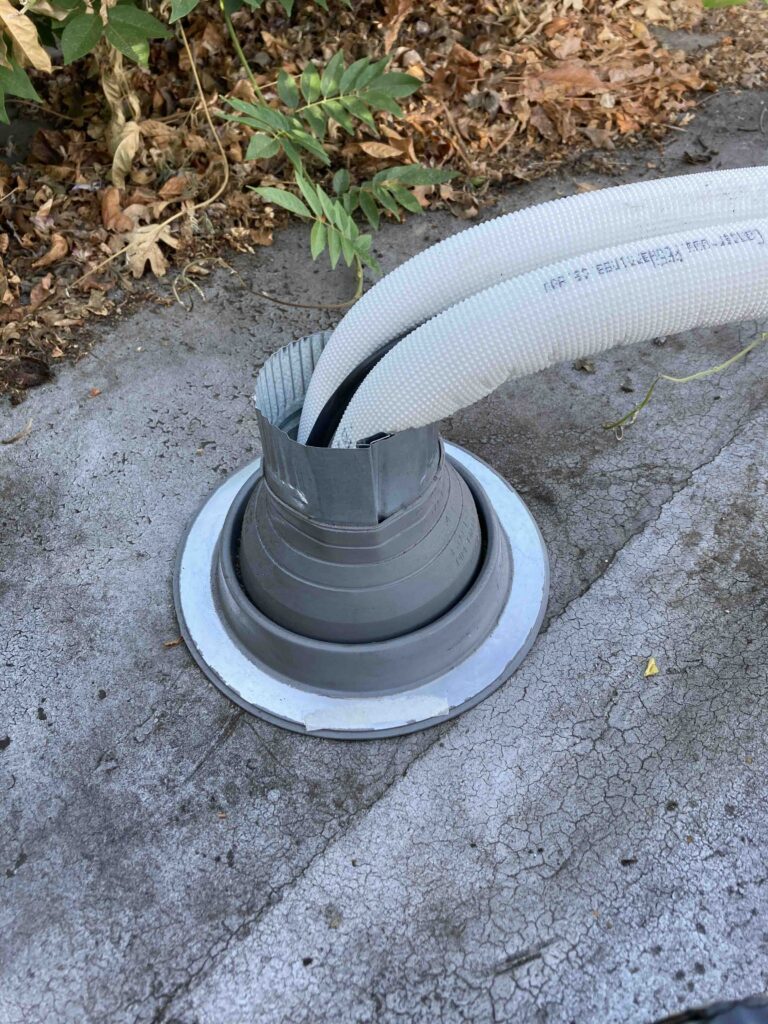
To protect the hole from water I installed a TPO pipe boot and flashed it with aluminum backed bitumen membrane. This requires a heat gun, which I had from the solar panel install.

Running the Lines
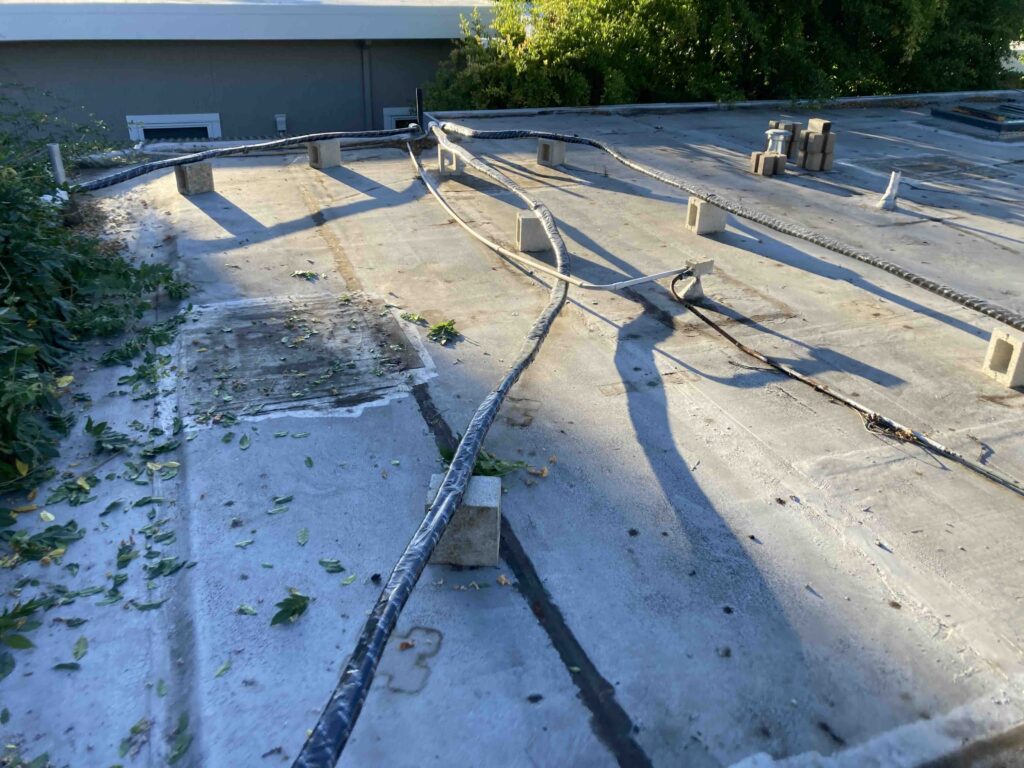
The max lineset distance supported by the pre-charged refrigerant is 230 feet.

Initially I had all the lines running in right angles. I was able to reduce several feet of distance by running the lines diagonally. This is important because I was close to the 230′ max distance supported by the refrigerant in the condensor I didn’t have to add refrigerant to the system. Only three linesets are shown because the fourth wall unit is on the same side as the condensor and didn’t have to run across the roof. Picture was taken a couple of years after the install, we had the HVAC unit and ducts removed.
Lineset Covers
Initially I had lineset covers hiding the linesets everywhere. The lineset covers are expensive. A retired HVAC pro told me that UV resistant paint can do the same job of protecting from the sun. And that covers are just for making things look nice. Nobody sees what’s on the roof, so I used dark latex paint instead to save a few hundred dollars.
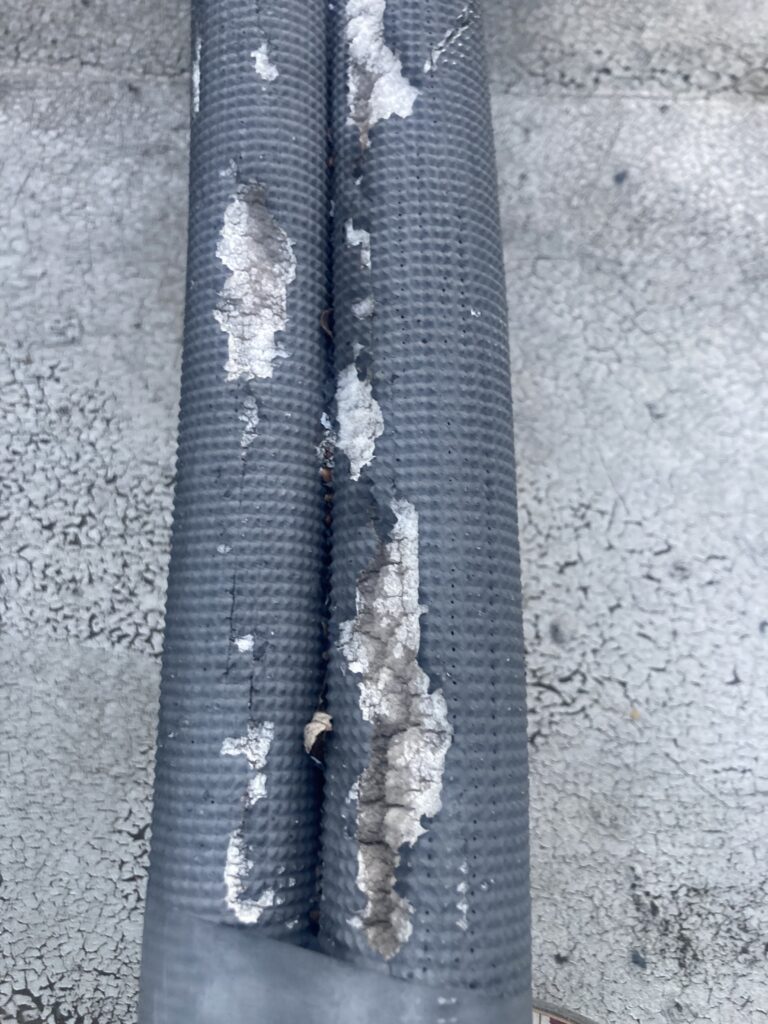
[Post Install Update] Three years later, looks like UV or an animal has been eating away at the lineset insulation. If it was an animal, and we have racoons, squirels, possums, maybe I should have used the lineset covers on the roof after all.
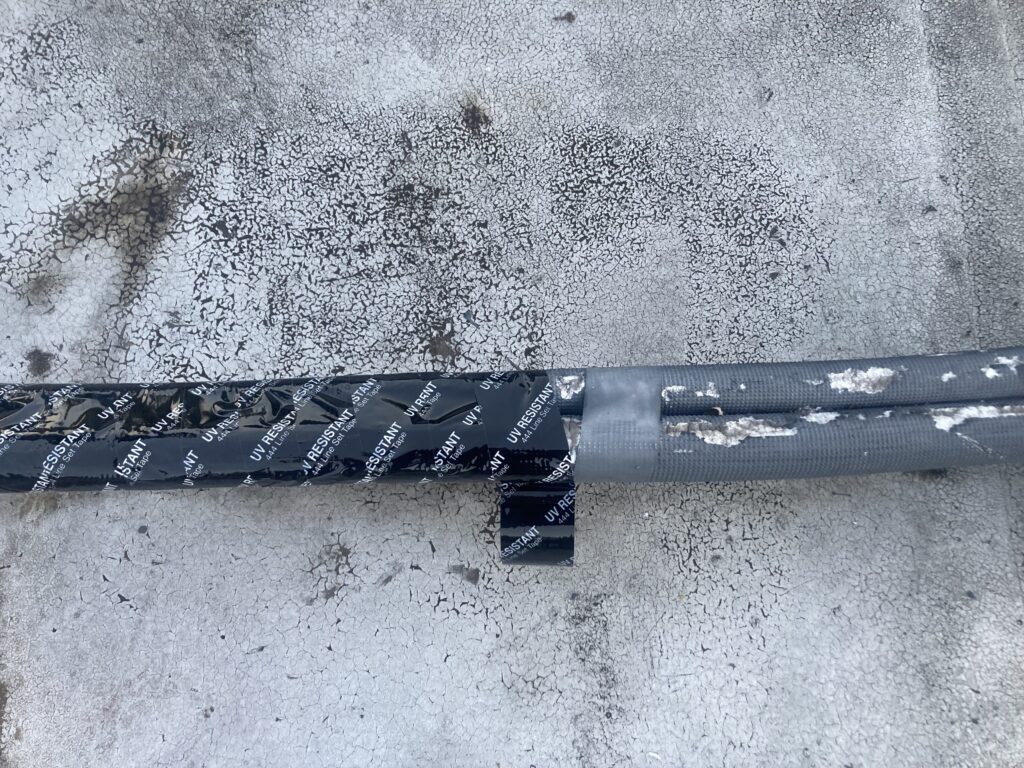
I wrapped the linesets in UV-resistant lineset tape. Took a couple of hours to re-tape everything. Will need to monitor this annually and to re-tape if necessary.
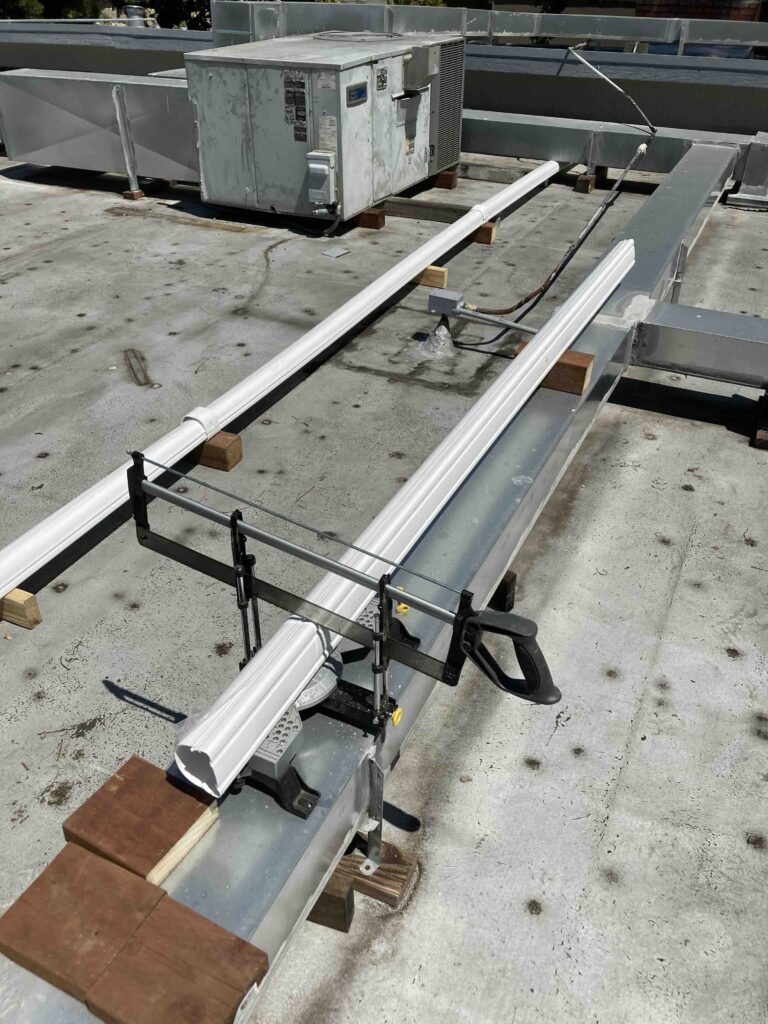
Cutting the lineset covers to the right size
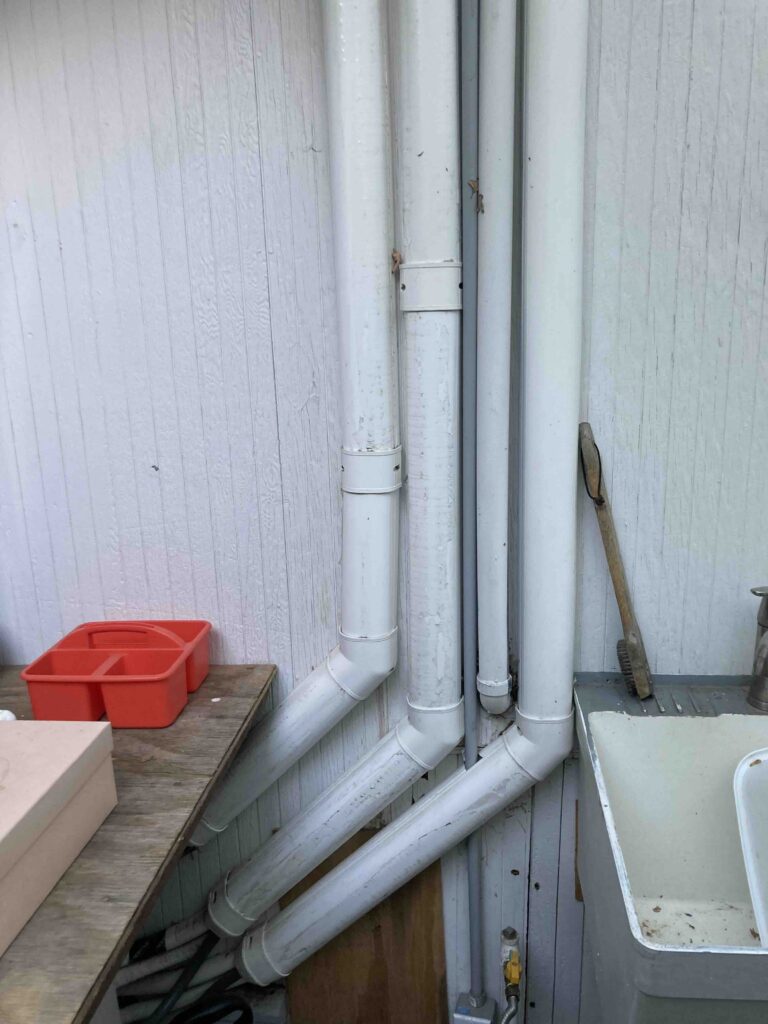
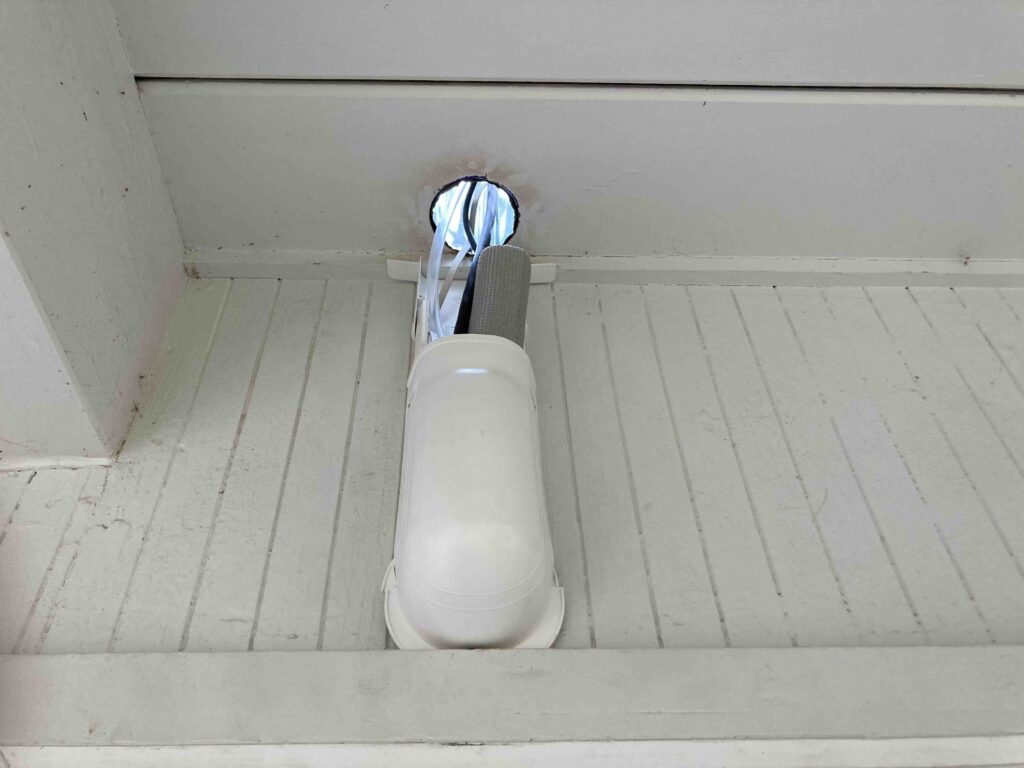
90 degree elbow from the wall hole up to the roof to make things look nice. In the picture below there is a clear tube to drain water out onto the roof. This was solution was replaced with a simpler one in the next section on Condensate Drain.
The linesets running from the roof down to the condensor.
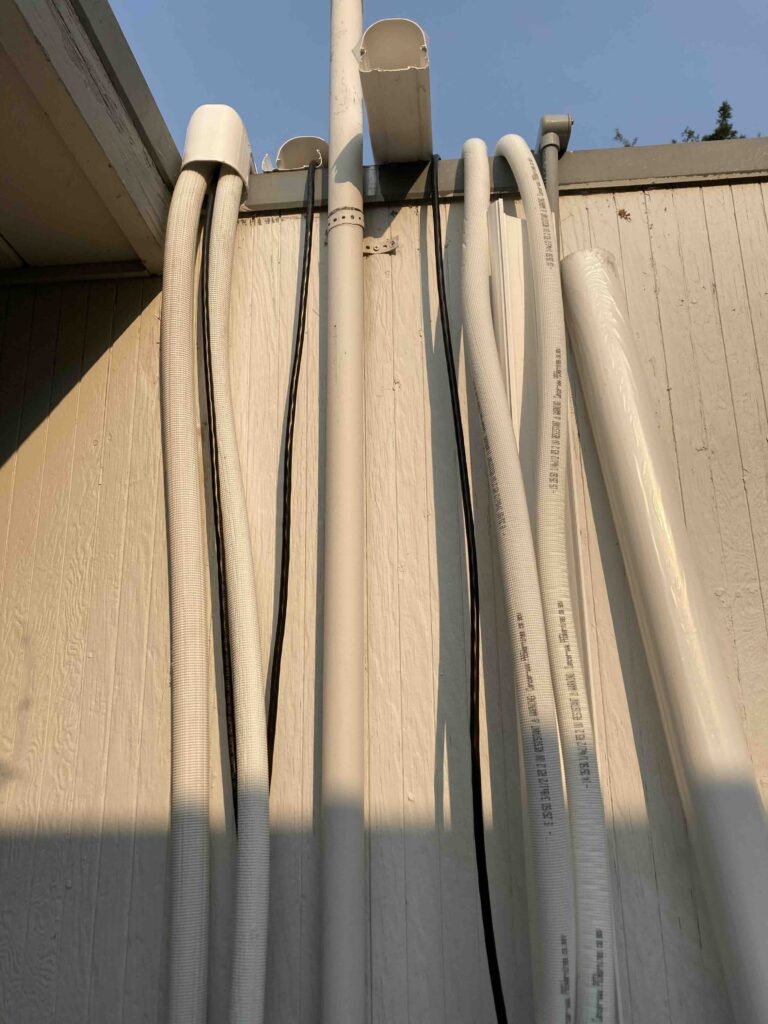
The copper tube is easily bent and shaped. Slowly bend the linesets so you don’t kink the copper tubing inside. The black wire is the control wire that the wall unit uses to communicate with the condensor and how the wall unit gets power.
Noobie mistake: I kinked the line. I was able to delicately hammer it out somewhat. I could have used a Tube Bender to bend the tube, but tool was too finicky for me so I just did it by hand slowly.
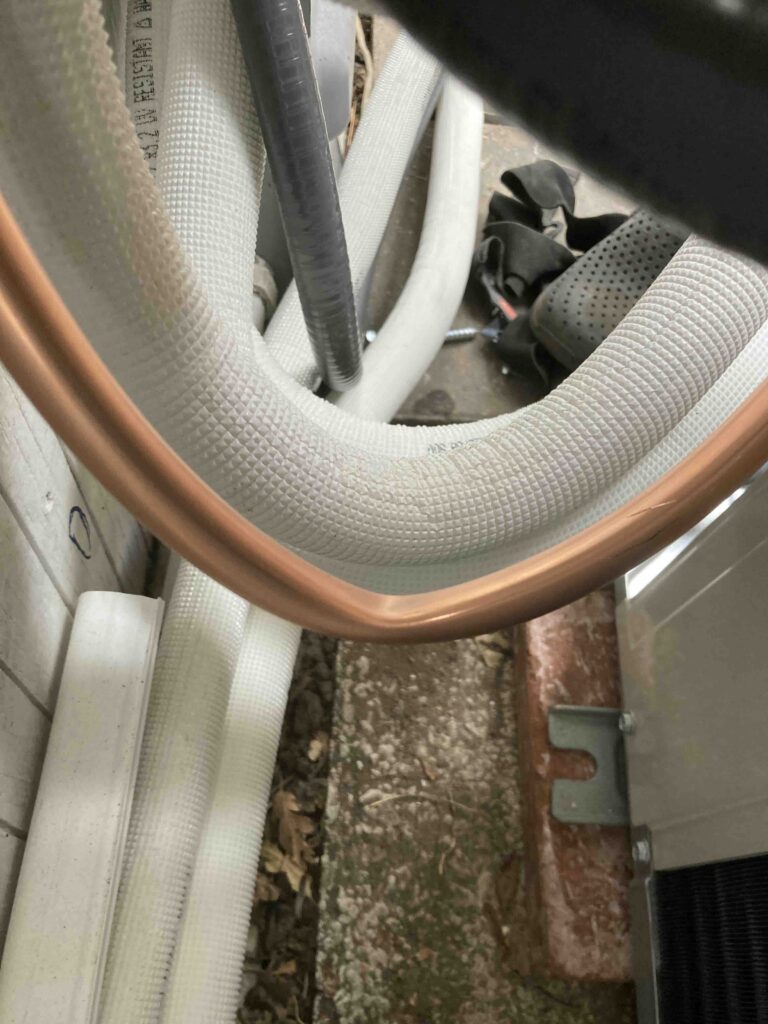
Awaiting cutting and connecting.
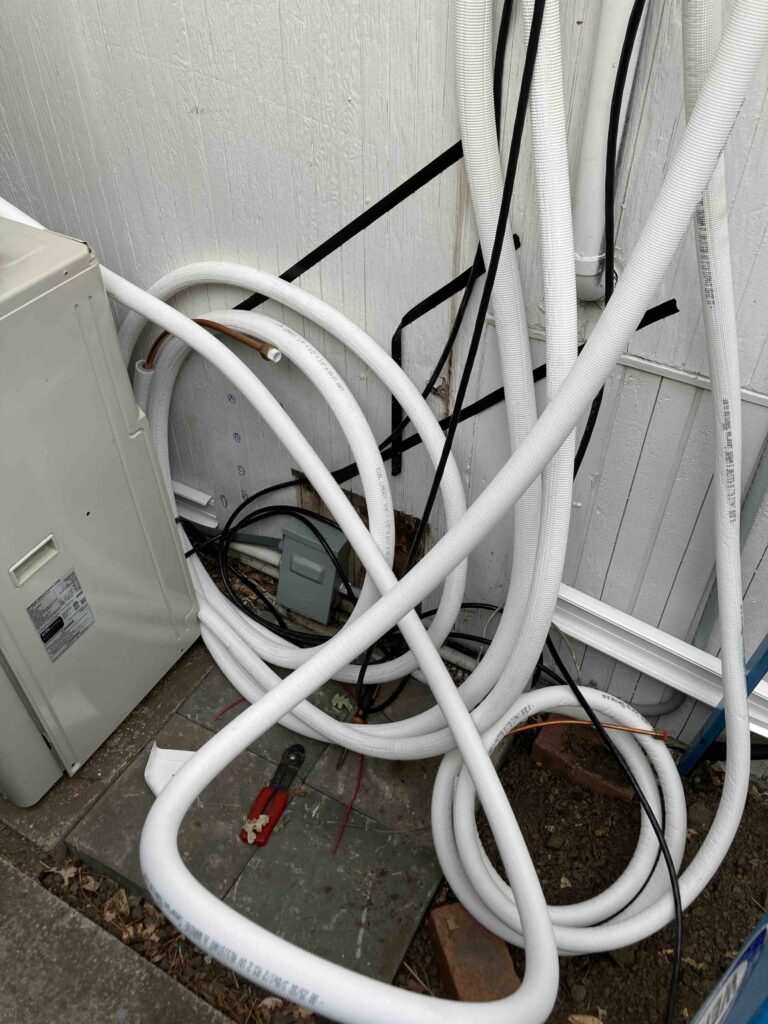
Cut the copper pipe using a pipe cutter

Spin the cutter around the pipe, then tighten the blade by turning the knob on right. Repeat about 10 revolutions.

The tube cutting in action
Noobie mistake: Not taking off the plastic covering on the lineset covers. You can see the discoloration and flaking on the lineset covers. I didn’t take off the plastic covering and the UV degraded the plastic covering so it is mess to remove because it just flakes off.
After all these years of ridiculing my dad of not taking the plastic covers off the dining room table and chairs, I have become my dad.
