Minisplit: 1. Preparation
Our packaged HVAC unit broke in the Summer of 2020. It was the 3rd time in the past two years. Previously it was a burnt out capacitor for the starter motor. Now the blower needed to be replaced. The technician came over and said the HVAC was past end of life. Replacing the blower would extend its life for another couple of years, maybe. A completely new unit would cost $10k.
Below: Our central forced air HVAC on top of our eichler. It vibrates the house when its running, the vents leak water during heavy rains.

I wondered if this was time to go with a minisplit system. The advantages of minisplit are that each room has its own temperature control. It includes heating and cooling. It is ductless so it is more efficient than forced air. It uses electricity instead of gas so essentially runs free with the PV system. And it has near silent operation. The disadvantages are they are expensive to install, they take up space on the wall and some people don’t like the looks of it.

I got 3 quotes for a 4-zone Daikin mini-split system installation. All the quotes were around $23k, including labor and parts. It would take 3 people, 2 full days to complete the installation. The Daikin minisplit costs $7k direct from wholesaler ($4k for condensor and 4 wall units and $3K for all the linesets, tools, materials). So the labor would be $16k or roughly $330 per hour (3 people * 2 days * 8 hrs/day = 48hrs).
Is this a suitable DIY project
[Post Project Update]. No, unless you view suffering as essential to living a fulfilling life and that pain is an opportunity to grow stronger mentally and emotionally. It took me 100 hours (several months working a couple hours a day) to install by myself, including the research time, buying materials, going to Home Depot every week for couple months.
The installation of a minisplit system can be broken down to 4 phases:
- Preparation – design, procurement, watching youtube videos
- Construction – Hanging the indoor units, cutting holes into walls, laying out the linesets
- Connection – Connecting refrigerant lines from condensor unit to wall units, hooking up electrical lines, installing condensate lines for drainage
- Testing – leak test, vacuum lines, charge the lines with refrigerant
Several things that worried me about doing this DIY project.
Void warranty – Highly reputed brands (Mitshubishi, Daikin, Fujistu) don’t have warranties for DIY installs. The only allow trained certified installers to handle their units end to end, from the factory to the truck, to your house. They won’t install a unit that you bought yourself. There are DIY kits with warranties (Mr Cool, Pioneer), but they are not as reliable. In the end I decided to go with a reputable manufacture and a void warranty and take my chance that my unit won’t fail in 12 years.
Cutting holes in the wall – The second worry is regarding cutting holes in the wall to run the lineset out from the indoor wall units to the outdoor condensor unit. There is no uncutting a hole if something goes wrong. The eichler walls are thin wood siding panels, so I would just need a 3″ hole saw attached to my drill. No concrete or hard materials to have to cut through. Seems doable.
Permit required for refrigerant – Charging the lines with refrigerant requires special tools, special gases (nitrogen for the high pressure test, r410a for the lines) and technical expertise (calculating how many ounces of refrigerant is needed per meter of line). You need a EPA 608 Type II certification to purchase r410a refrigerant, because there are specific ways of handling and disposing it. My plan is to find someone to do the last step for me. If I couldn’t find anyone, then worse case, I would take the test (https://www.natex.org/site/415/Technicians/Locate-a-Testing-Organization) and purchase the refrigerant myself.
Expensive, one-off tools needed – Charging the refrigerant lines requires a Vacuum Pump & Manifold Gauge Set which would run around $150. This was the most expensive one off tool, which was acceptable.
Planning the Layout
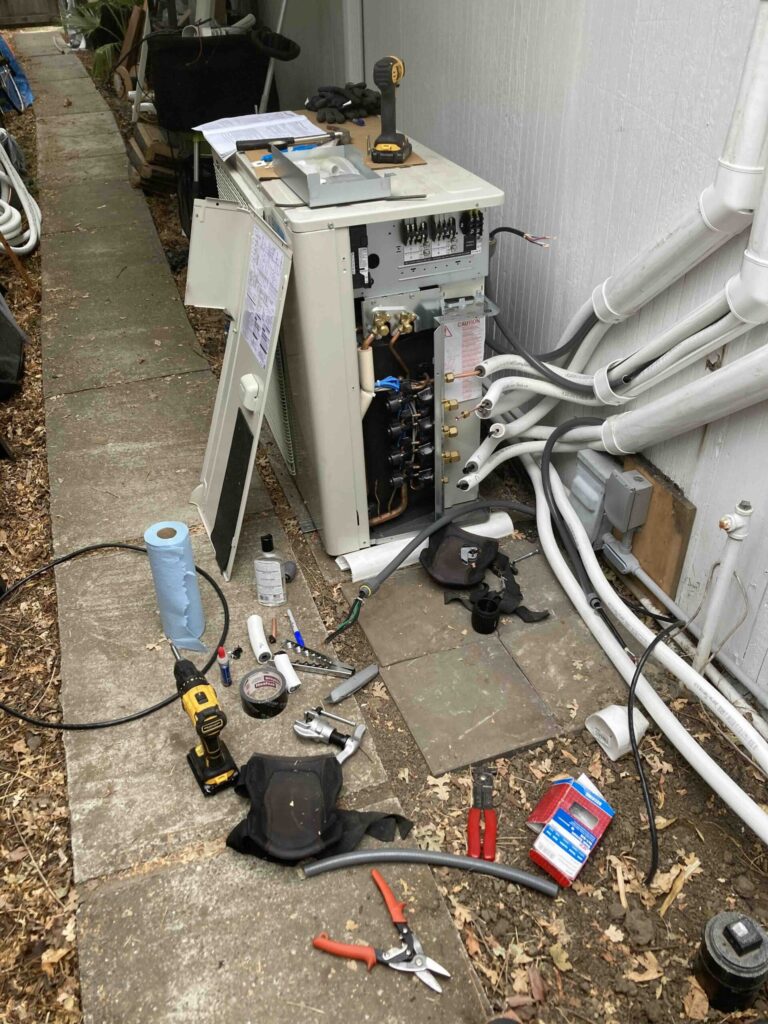
The wall units are connected to the condensor (i.e. heat pump) on the outside of the house by 2 refrigerant lines and 1 electrical line, called the lineset. There is also a condensate line for water to drain out of the wall unit. I plan to install a 4-zone condensor and have the 4 wall units (3 bedrooms, 1 living room) route the lines to the outside of the house and then up to the roof and then across the roof and come back down to the condensor.
One or two condensors? I considered going with two condensors, one on each side of the house. Then the linesets wouldn’t have to run so far. However, this would have increased cost considerably because majority of the cost is the condensor. Also I would need to find space to put the second condensor.
Side of house or roof top? We live in an eicher, which is single story and has a flat roof. I had considered putting the condensor unit on the roof. It would free up space around the house and be optimized for the shortest amount of linesets needed. I decided against putting it on the roof because the 4-zone condensor weighs 220 lbs and is very bulky. I would need a crane to lift it onto the roof, which is more cost and risky. I was also concerned about vibration and noise of having the condensor on the roof, which would require vibration dampeners and make the install more complicated.
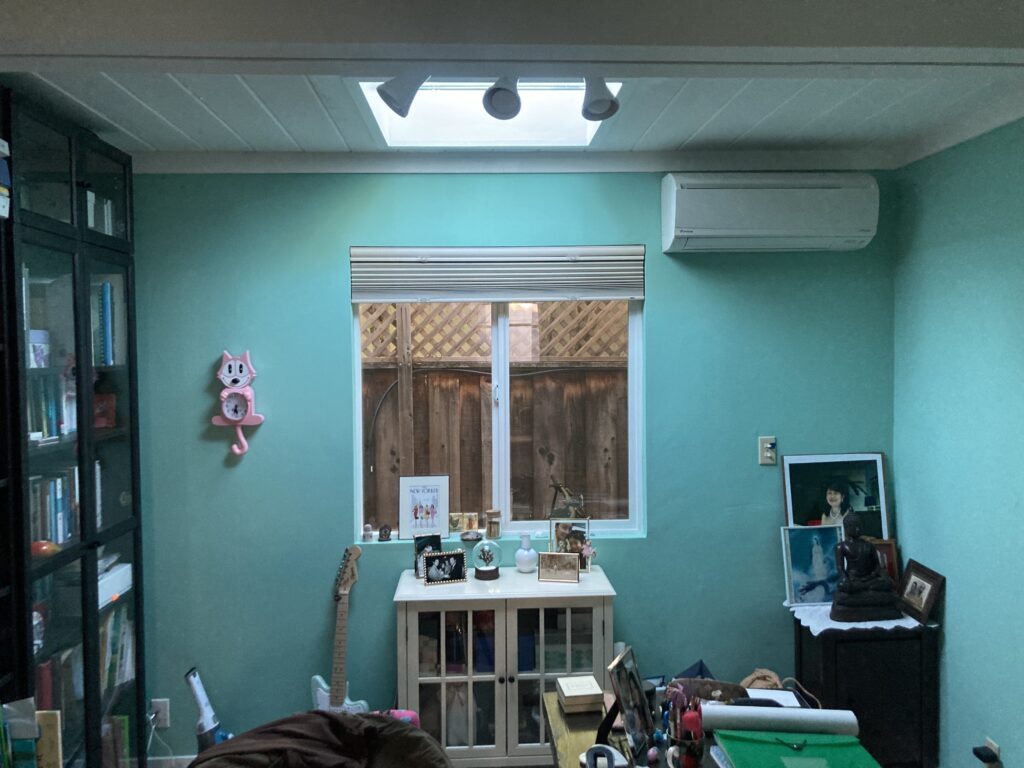
How to route lines to exterior? The wall units ideally is installed on an exterior wall, so the linesets can run outside of the house. If you don’t have an exterior wall then you’ll have to route the lines within the walls which is a hassle. Another (bad) option is to route the lines through the ceiling, but I didn’t want to cut any holes to the roof from the interior.
Side of house or roof? The way recommended by several companies was to route the bedroom lines around the side of house, but it would be visible and there were beams that would lineset would have to bend around that would it even uglier. I decided to go straight up onto the roof, but that meant cutting holes into the awning and flashing them properly so water doesn’t leak into the roof. This would make things much prettier but increase the amount of work needed. The advantage of doing the project DIY is you can make sure the project is done right, whereas most contractors will try to minimize the labor costs by cutting corners.
Sizing
There are tools online to help you figure out what size units you need for your rooms.

I decided on 7k BTU units for the three bedrooms and a 12k BTU unit for the common area, which is a living room/kitchen/dining room. 3 * 7K BTU + 12K BTU = 33K BTU. This means I need a total of at least 33K BTU for the 4-zone condensor.
Which brand
The first choice was between a DIY kit with warranty or a premium brand package (i.e. Daikin, Fujitsu, Mitsubishi) with a void warranty. The premium brands require that they are shipped and installed by a professional certified installer to remain under warranty.
The main advantage of DIY friendly kits (e.g. Mr Cool, Pioneer) is they come with pre-charged refrigerant, so as long as you stay within a max distance for the lineset run for the charge you didn’t need to special tools (e.g. vaccum pump, r410a refrigerant) to charge the linesets. And you don’t void the warranty.
I decided to go with Daikin because these systems come with 10y warranty so they must be well made. If I was unlucky and had a unit with a manufacturing defect I could find help readily. All three HVAC installers in my area quoted me Daikin systems, so I know there are technicians available to repair and source parts. I wanted a premium brand because this system is the heating and cooling for my family.
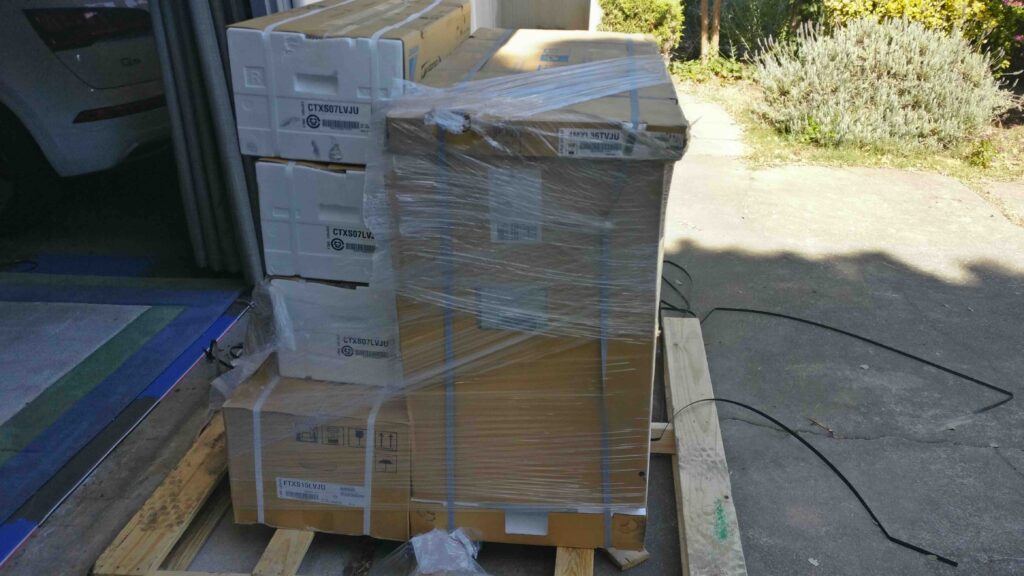
I bought my system from hvacdirect.com:
- Daikin 36k BTU 22 SEER 4-zone Condensor (7+7+7+15) – $3,513.95 (4MXL36TVJU)
- 3x 7k BTU wall mounted unit for the bedrooms – 3 x $379 (CTXS07LVJU)
- 1x 15k BTU wall mounted unit for the living room = $443 (FTXS15LVJU)

Line sets
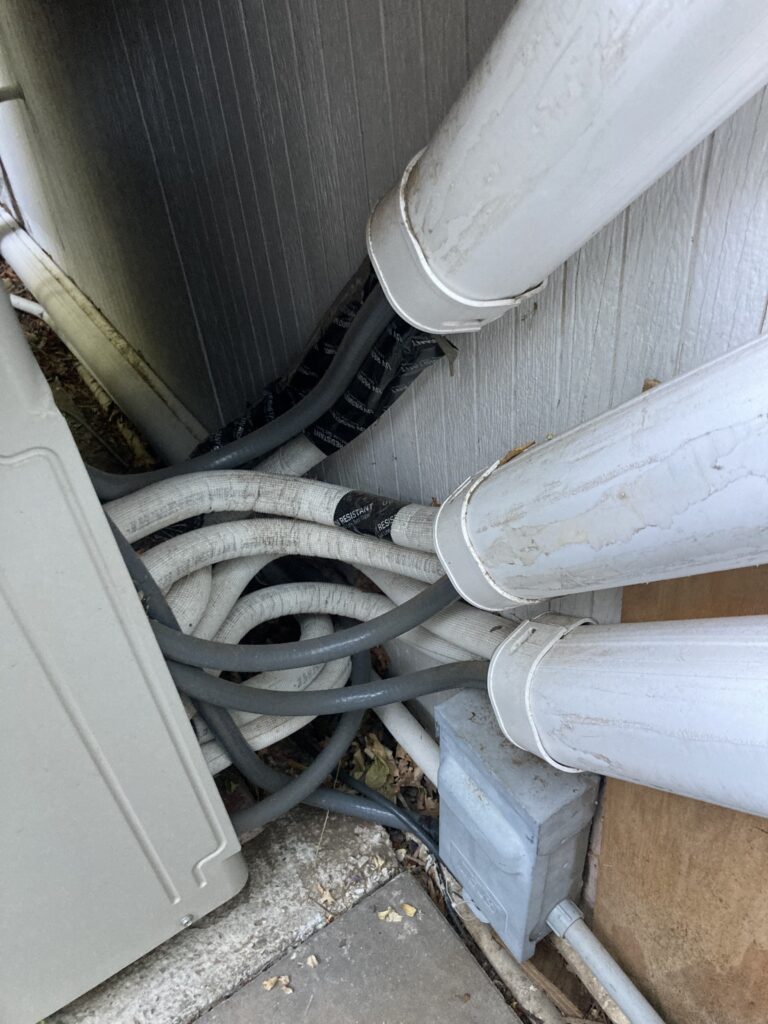
The white insulated lines are the linesets, it consists of two lines per wall unit. One is the liquid line and one is the suction line. The grey flexible conduit line contains the power and control lines to the wall unit.

Noobie mistake: Assuming the lineset sizing is the same for all the wall units. Make sure to know the sizing of the lineset. The sizing of the wall units determines the lineset sizing. The liquid line is 1/4″. The suction line can be 3/8″ or 1/2″. The living room wall unit is much larger so it uses a different size.
The linesets I got from ecomfort.com which, at first glance, looked like a scam website. It had all sorts of red flags. A lot of bad reviews, prices much cheaper than competitors. I put in a small order and see how it went before putting down a larger order. I did not get scammed. I got the lineset covers from SupplyHouse.com. They had the style of lineset i liked, which was small form factor.
- 2x JMF 35ft 1.4″ x 3/8″ minisplit line set = $320
- 1x JMF 50ft 1/4″ x 3/8″ line-set = $226
- 1x JMF 50ft 1/4″ x 1/2″ line-set = $329
- 180ft Control + power wire – $238
- 4x Wall insert – $60
- Lineset Covers – too much
- UV resistent Insulation tape 200ft – $15
- 2x Condensate drain – $100